- ページ 5
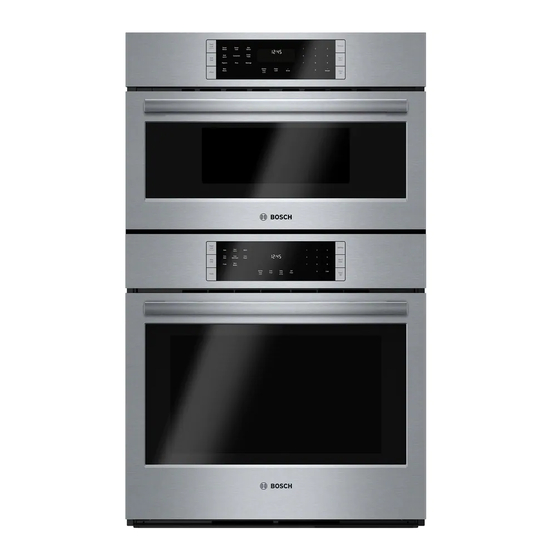
オーブン Bosch HSLP751UCのPDF 取付説明書をオンラインで閲覧またはダウンロードできます。Bosch HSLP751UC 32 ページ。 Built-in combination ovens
Bosch HSLP751UC にも: パンフレット&スペック (3 ページ), インストレーション・マニュアル (18 ページ), インストレーション・マニュアル (39 ページ)

2 Before you begin
Before you begin
Read these instructions before you begin to install your
Before you begin
appliance.
2.1 Combination installations
For combination installations with other Bosch products
(i.e. cooktop over oven, etc.), refer to the Approved Com-
bination Guide located in the manual kit or on our website
for additional clearance requirements for your specific in-
stallation.
2.2 Power requirements and grounding
The outlet must be properly grounded in accordance with
all applicable codes.
2.3 Parts included
After unpacking all the parts, check for any damage in
transit and for completeness of delivery.
¡ Appliance
¡ 2 x cabinet screws
2.4 Tools and parts needed
Prepare these tools and accessories before you start to in-
stall your appliance.
¡ 3 x properly sized wire nuts
¡ Adjustable wrench
¡ Measuring tape
¡ Level
¡ Cross head screwdriver
¡ Drill with bit 1/16" (1.5 mm)
3 Installation requirements
Installation requirements
Read these instructions to prepare the installation space
Installation requirements
for your appliance.
3.1 Appliance weight
The cabinet base must support the weight of your oven as
stated in this table.
Oven type
30" steam oven
30" steam and conventional
combination oven
3.2 Location requirements
Ensure your installation location fulfills the following re-
quirements before you begin with the installation proce-
dure.
¡ The appliance may only be installed in a cabinet that is
closed on the sides. The installation area must provide
complete enclosure around the recessed portion of the
oven.
¡ Grounded electrical supply is required (see Electrical re-
quirements).
¡ The junction box must be installed either above or be-
low the unit.
Weight
92 lbs
(42 kg)
429 lbs
(195 kg)
For under-counter installation, it is recommended that
the junction box be located in the adjacent right or left
cabinet. If you are installing the junction box on the rear
wall behind the oven, the junction box must be recessed
and located in the upper or lower right or left corner of
the cabinet; otherwise, the oven may not fit into the cab-
inet opening.
¡ The cabinet base must be flat and capable of support-
ing the weight of your unit. Refer to
→ "Appliance weight", Page 5
¡ The supporting base must be well secured to the floor
or cabinet and must be level.
¡ For oven support, install 2x4s extending front to back
flush with the bottom and the sides of the opening.
¡ ¼" (6.4 mm) space is required between the side of the
oven and an adjacent wall or cabinet door when in-
stalled at the end of a cabinet run.
¡ An electric or non-professional gas cooktop can be in-
stalled above a steam oven as long as there is no con-
tact between the bottom of the cooktop and the top of
the steam oven.
¡ When installing the steam oven, a 1½'' (38 mm) mini-
mum clearance must be maintained above a warming
drawer.
¡ This steam oven may be combined directly with the
HWD505xUC 30" Warming Drawer, or the HSD505xUC
Storage Drawer. For detailed installation instructions in-
cluding cutout dimensions, please refer to the warming
or storage drawer installation manual.
¡ This steam oven is also used in Bosch combination
oven model HSLP754UC. Detailed instructions for the
combination assembly, wiring, and installation are in-
cluded with the oven portion of the combination model.
30" Steam oven dimensions
4 30" Steam oven dimensions
Read here for appliance and cabinet dimensions for
30" Steam oven dimensions
30" steam ovens.
4.1 30" Steam oven appliance dimensions
Before you begin en-us
5
