- ページ 4
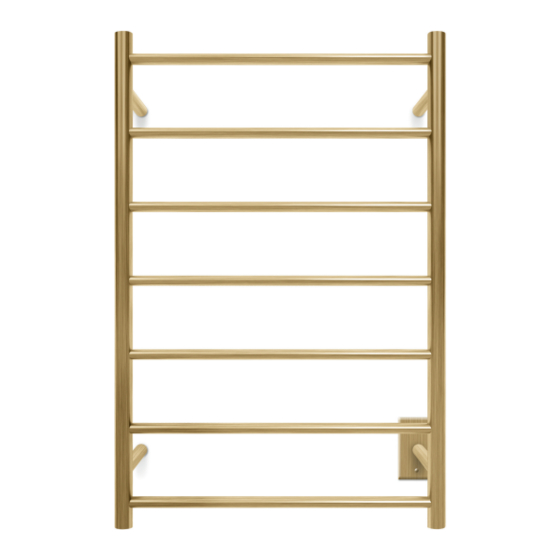
フードウォーマー Forme HTR7006206OPのPDF 取付説明書をオンラインで閲覧またはダウンロードできます。Forme HTR7006206OP 9 ページ。 Multi bar towel warmer

TOWEL WARMER INSTALLATION INSTRUCTIONS
CONCEALED CORD ENTRY WITH ATTACHED J-BOX
1.
Refer to the "Mounting your towel Warmer" section to identify exact location of the brackets.
2.
The lower right bracket of your towel warmer will come supplied with a box cover plate that covers a standard 2x4 "single
gang" electrical box.
a) If your electrical box is already installed and supplied by the electrician, use that as the main point to determine
where the other 3 brackets will fall. You must ensure that the left side of the towel warmer is secured to wood or
metal studs or a structural element.
b) If your electrical box is not yet roughed-in, mark the space of the cover plate on the wall to determine the exact location.
3.
a) Always ensure the power is turned off at the breaker box to avoid electrical shock.
b) You can trim the power cord to your needs leaving no less than 12" exiting the towel warmer.
c) Upon secure connection to the line voltage, mount the towel warmer to the brackets and secure by tightening the grub
screws underneath each bracket.
CONCEALED CORD ENTRY WITH REMOTE J-BOX
CONCEALED CORD ENTRY WITH REMOTE J-BOX
If you choose to locate the J-box elsewhere than at the recommended bottom right of the towel warmer, follow the instructions
below. You can also wire it directly into the switch box where you control your towel warmer. Please ensure you comply to all local
and national code requirements in regards to line voltage wire in conduit. State and local regulations vary (flex conduit, rigid
conduit or neither) and must be respected to avoid electrical hazards.
1.
Mount the concealed cable mushroom into the wall where the bottom right hand bracket will be located (bottom right as you
look at the mounted towel warmer on the wall)
2.
Ensure you have a code compliant connection between the mushroom anchor and your electrical connection in the J-box.
3.
Determine the other 3 anchor points and secure the wall anchors accordingly.
4.
You must ensure that the left side of the towel warmer is secured to wood or metal studs or a structural element.
5.
Your lead wire is 6ft long (except models TW001 and TW002 where it is 3ft). You can trim it to your needs leaving no less than
12" outside of the towel warmer.
6.
Remove the cover plate from the lower right hand bracket.
7.
and wiring must be compliant with local and national electrical codes. Please check with a licensed electrician.
8.
Finally safely push your towel warmer into place and tighten the grub screws underneath each bracket.
6
TOWEL WARMER INSTALLATION INSTRUCTIONS
WIRING INSTRUCTIONS
WIRING INSTRUCTIONS
Green/Yellow
(Grounding)
Line (Hot)
Plastic Box
Black
Heated
Towel Rail
PRODUCT WARRANTY
PRODUCT WARRANTY
Any heated towel warmer that is found to be defective due to substandard materials and/or workmanship within
Any heated towel warmer that is found to be defective due to substandard materials and/or workmanship within
3 years of purchase will receive replacement product only. To make a claim under this warranty, contact Forme
3 years of purchase will receive replacement product only. To make a claim under this warranty, contact Forme
Agent FTR Products Canada. Your claim will be assessed based on the information you provide.
Agent FTR Products Canada. Your claim will be assessed based on the information you provide.
This warranty does not cover any installation or removal costs. The warranty does not extend to any consequential
This warranty does not cover any installation or removal costs. The warranty does not extend to any consequential
loss, damage, misuse, neglect, alteration or incorrect installation. Items that have been cleaned with anything
loss, damage, misuse, neglect, alteration or incorrect installation. Items that have been cleaned with anything
other than approved cleaners will not be replaced. Attach your proof of purchase and keep in a safe place with this
other than approved cleaners will not be replaced. Attach your proof of purchase and keep in a safe place with this
warranty form. You must have your proof of purchase for your warranty to be valid.
warranty form. You must have your proof of purchase for your warranty to be valid.
120 V
White (Neutral)
Green/Yellow
(Grounding)
Line in
Line out
White (Neutral)
Timer or Switch
White (Neutral)
Green/Yellow (Grounding)
7
