- ページ 5
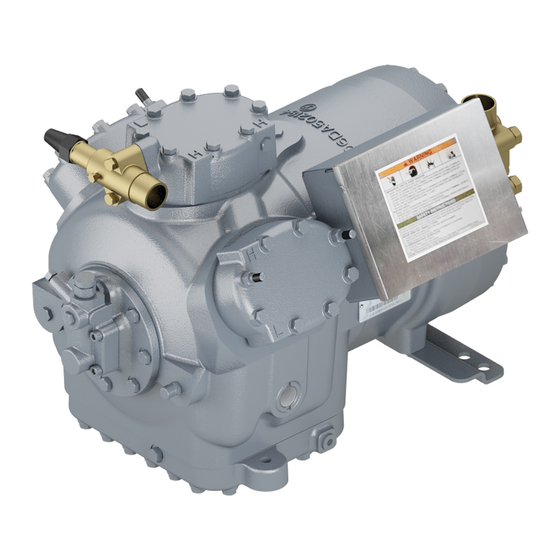
エアーコンプレッサー Carlyle 06DのPDF 取付説明書をオンラインで閲覧またはダウンロードできます。Carlyle 06D 8 ページ。 2-cylinder compressors
Carlyle 06D にも: 設置および始動手順 (4 ページ)
Bi-Metal Overload Wiring
Assembly or 6-Pin Plate Assembly for Univer-
sal Compressor
1. Connect one control circuit lead to the empty side tab
#1 terminal location of the bottom overload (as shown
in Fig. 11) using a push-on quick-connect wire terminal.
2. Connect 2 power leads from L1 and L3 to the #4 termi-
nal location of the 2 overloads as shown in Fig. 11. For
compressor models 06DR337, DM337, and DA328 for
208/230-v units, connect power lead from L2 to the #4
terminal location of the third overload as shown in
Fig. 11. Connections are made using push-on quick
connect flag terminal or ring terminals based on model
and voltage. Be sure that power leads with the quick
*Compressor models 06DR337, DM337, and DA328 for 208/230-v units only.
Fig. 11 — Bi-Metal Overload Wiring — 5-Pin Plate Assembly or 6-Pin Plate Assembly for Universal
5-Pin Plate
—
Compressor
5
connect flag terminals are securely and firmly fastened
to the overload terminal tabs.
3. When attaching power leads to the overloads requiring
the ring terminals as noted above, use the hardware in
the parts bag supplied with the compressor and located
inside the terminal box.
Use one screw and one external-tooth lockwasher per
connection. Assemble the parts in the order shown in
Fig. 12. Torque the terminal screws to 20 lb-in. (2.3 Nm)
maximum.
4. Once all connections to overloads are made, make re-
maining connections to terminal plate as shown in
Fig. 11. (Terminal pin 7 is not used but may be present
on 6-pin assembly.) Refer to Terminal Plate Wiring
section for connection details.