- ページ 8
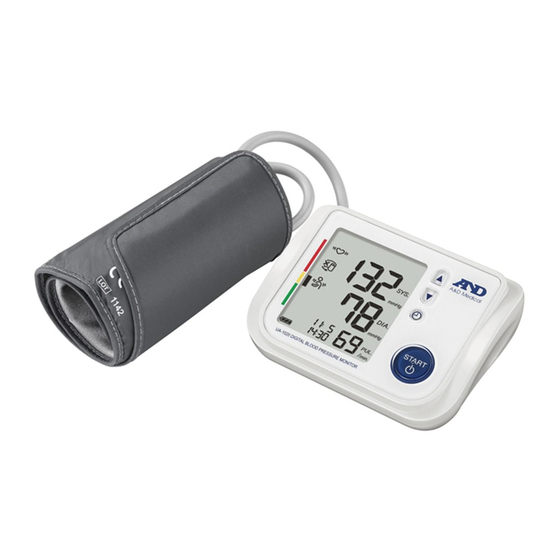
血圧モニター AND UA-1020のPDF 取扱説明書をオンラインで閲覧またはダウンロードできます。AND UA-1020 20 ページ。
AND UA-1020 にも: クイック・スタート・カード (2 ページ)

Installing / Changing the Batteries
1. Remove the battery cover.
2. Remove the used batteries and
insert new batteries into the battery
compartment as shown, taking
care that the polarities (+ and -) are
correct.
Use only R6P, LR6 or AA batteries.
3. Attach the battery cover.
CAUTION
Insert the batteries as shown in the battery compartment. If installed
incorrectly, the device will not work.
When
(LOW BATTERY mark) blinks on the display, replace all batteries
with new ones. Do not mix old and new batteries. It may shorten the battery
life, or cause the device to malfunction.
Replace the batteries two seconds or more after the device turns off.
If
(LOW BATTERY mark) appears even after the batteries are replaced, make
a blood pressure measurement. The device may then recognize the new batteries.
(LOW BATTERY mark) does not appear when the batteries are drained.
The battery life varies with the ambient temperature and may be shorter at
low temperatures.
Use the specified batteries only.
Remove the batteries if the device is not to be used for a long time.
The batteries may leak and cause a malfunction.
Connecting the Air Hose
Insert the air connector plug into
the air socket firmly.
Connecting the AC Adapter
Insert the AC adapter plug into the
DC jack.
Next, connect the AC adapter to an
electrical outlet.
Use the specified AC adapter.
(Refer to page 18.)
Using the Monitor
English 7
Step 1
Step 3
Air socket
Air connector plug
AC adapter plug
DC jack
Step 1
Step 2
