- ページ 7
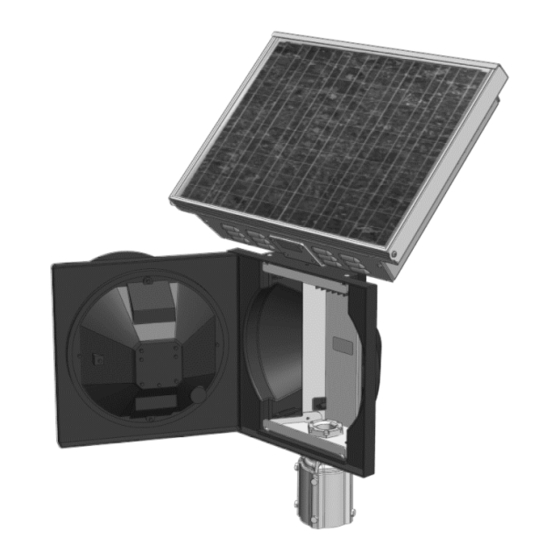
レーダー Carmanah E SeriesのPDF 交換マニュアルをオンラインで閲覧またはダウンロードできます。Carmanah E Series 9 ページ。 Traffic beacon systems
Carmanah E Series にも: クイック・スタート・マニュアル (20 ページ), インストールマニュアル (16 ページ), エネルギー管理システム交換マニュアル (12 ページ), インストールマニュアル (20 ページ), ユーザーマニュアル (18 ページ), インストールマニュアル (18 ページ)

Legacy Systems (R920/R247-E) – Horizontal Opening Engines Only
3.2
1. For legacy systems that open horizontally the replacement panel will need to be modified. Drill and tap
two holes (one on each side of the panel) as shown with the supplied 0.136" drill and #8-32 tap.
a. Alternatively, simply mark the hole locations while holding the solar panel in place within the
engine, then drill and tap the holes in the panel extrusion.
2. Plug the two open holes in the top of the solar panel with two 1/8" sealing rivets.
3.3
Removing Existing Solar Panel
1. Drill out the solar panel hinge rivets on each side of the metal enclosure then remove the solar panel. Pull
on the side of the enclosure to allow the old rivets ends to come free from the enclosure. Ensure the rivet
holes aren't enlarged from drilling the rivets.
2. For vertical opening systems solar engines, drill out the rivets shown below to remove the top cap from
the damaged solar panel. Ensure the rivet holes aren't enlarged from drilling the rivets. Reuse the top cap
and attach it to the replacement solar panel using two 1/8" rivets.
a. For F Series engines there will be a third rivet near the center on the top cap that needs to be
drilled out as well.
Carmanah Technologies Corp. | 250 Bay St, Victoria, BC V9A 3K5, Canada | 1.250.380.0052 |
Drill and tap
these two holes
Drill these rivets
out
SOLAR PANEL REPLACEMENT GUIDE
Pre-drilled
|
carmanah.com
7
