- ページ 11
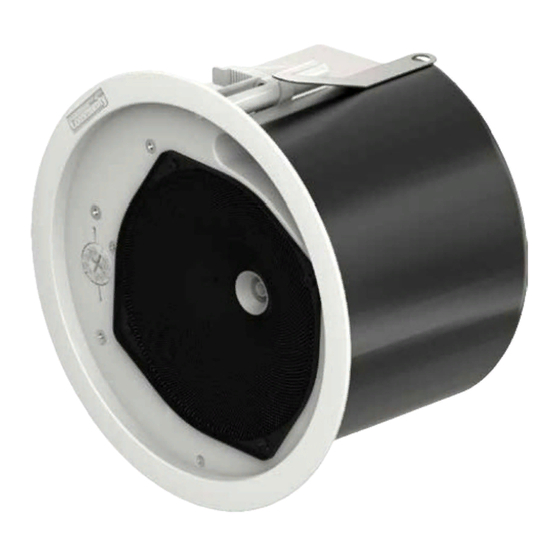
スピーカー Community C6のPDF 設置および操作マニュアルをオンラインで閲覧またはダウンロードできます。Community C6 16 ページ。 4.5", 6.5", 8" full-range c series coaxial ceiling loudspeakers
Community C6 にも: 設置および操作マニュアル (20 ページ)

Installation in the Ceiling
Dry-Wall Ceiling Installation
There are three basic ways to install a Community C SERIES loudspeaker
assembly into a drywall ceiling (a.k.a. sheet rock or gypsum board). Some are for
new construction, others for retrofit to existing construction. We recommend
some methods over others and of course the choice is yours.
1. The preferred method for new installations is to use the optional New
Construction Bracket, pre-installing it directly to the supporting beams
before the sheet rock is applied. Multiple small holes on wings to either side
of the main cutout hole allow the installer to use screws or nails to secure
the ring to the straddling beams. See the following subsection for step-by-
step details and variations.
2. An alternative method for new installations – where the ceiling has already
been completed – is to use the Tile Bridge Support Rails. While there are no
truss members across which the rails fit, nonetheless they will distribute
the weight of the loudspeaker assembly across a greater area and will thus
avoid sagging or having the mounting clamps cut into the ceiling that might
otherwise occur over time. You can cut the hole using the provided template
or using a New Construction Bracket as a cutting guide, even though this
bracket won't be used for the actual installation. It's then easy to pass the
Tile Bridge Support Rails through the cutout, then the Spacers, and align the
loudspeaker mounting clamps so they rest top of the rails. Refer to Figures
9 and 10.
3. Retrofit an entire Community C SERIES Loudspeaker Assembly into an
existing oversized ceiling cutout using a corresponding C SERIES CATR Can
Adapter Trim Ring.
Pre-Installation in a New Drywall Ceiling
Optional New Construction Brackets are available for installing loudspeakers
in new construction before drywall or plaster is put in place. Refer to the chart
on page 13 for sizes and model numbers.
The New Construction Brackets support the loudspeakers in plaster/dry
wall ceilings. Multiple holes in the bracket's two "ears" permit convenient
attachment to nearby ceiling beams. The drywall typically is cut with a router-
type tool, in which case the bracket central hole will serve as a cutout guide for
the router bit.
Inserting the Loudspeaker Assembly into the Drywall Ceiling
1. Bring the wiring from the ceiling to the top of the can and attach it to the
terminal block (see the Wiring Section and Figure 2). Secure the wiring with the
top plate/strain relief clamp.
2. Before sliding the back can into the ceiling hole, slightly bend each
Drop-Stop™ installation assistant tab outward from the back can 1/2 inch
(12mm). Slide the loudspeaker into the hole. When pressing the unit fully into
place, the two Drop-Stop™ tabs will spread atop the tile support bridge rails,
and you may hear them "snap" into position; you can now continue without
having to hold the back can in place. The illustration in Figure 7 shows how
the Drop-Stop™ tabs work, and is equally applicable with New Construction
Bracket installations in drywall ceiling
3. Locate the two Phillips-head can clamp actuators around the perimeter of the front flange, and using a #2 Phillips
screwdriver twist each actuator clockwise until you feel tension as the clamps securely lock the loudspeaker into
the ceiling (Figures 8 and 9 on page 10). These clamps open fully to 2.35" (59.6 mm), but we allow at least 0.60"
(15.2mm) to grab the Tile Bridge Support Rail atop the ceiling. Loudspeakers leave the Community factory with these
clamps fully open so that approximately 1.75
C SERIES Ceiling Loudspeakers
(continued)
"
(44.4 mm) thick ceilings can be accommodated.
Installation and Operation Manual
Figure 10. New installation in an existing
drywall ceiling Use the tile bridge
support rails & spacers
Important: Do not mount the
loudspeaker into any material
without using either the
New Construction Bracket or the Bridge
Support Rails
Figure 11. New construction bracket for
drywall or lath-and-plaster installations
Page 11
