- ページ 5
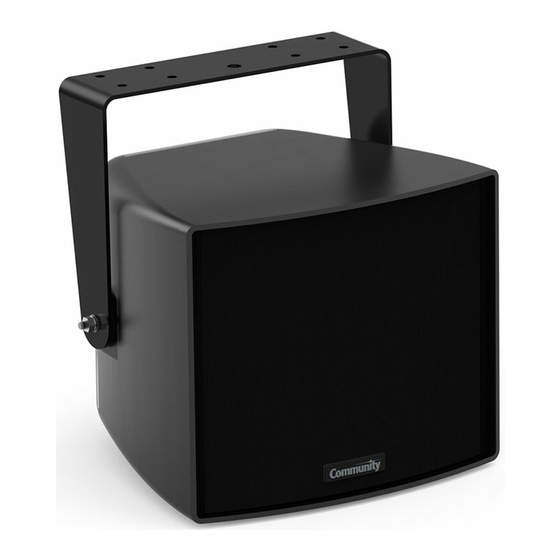
スピーカー Community R.35-3896-ENのPDF 設置および操作マニュアルをオンラインで閲覧またはダウンロードできます。Community R.35-3896-EN 13 ページ。 R series

INSTALLATION
BEFORE YOU START
Read all instructions and gather tools necessary before starting the installation.
Please read all safety instructions and warnings regarding rigging and installation of the
loudspeaker. The latest version of this manual is available by contacting your sales dealer
or representative. The revision date is on the rear cover.
MOUNT THE LOUDSPEAKER YOKE
1. Attach the yoke to the support structure
prior
to
mounting
the
enclosure. Use properly rated, corrosion-
resistant fasteners. Mounting hardware is
not included and should be specified by a
structural engineer.
The wider angled portion of the yoke must
be at the rear of the loudspeaker when
mounted vertically, and toward the bottom
of the enclosure in the horizontal position.
Always use the holes in line with the larger
center hole as the primary mounting
points. See Figure 2 for yoke orientation.
Additional yokes for pan/tilt and down-
firing mounting options are available (see
Accessories section). Custom brackets
may be used, but must be approved by
a structural engineer and rated for the
expected load.
2.
Attach the loudspeaker to the yoke.
See Figure 3. Screw an 8mm stud into
each side of the loudspeaker so that it
protrudes about 3/4" (19mm). Place the
rubber washers on the studs and then lift
the loudspeaker into place between the
yoke arms. Attach as shown. Support the
enclosure until both sides are secured.
Tighten bolts to finger tight (enough to hold
the loudspeaker in position).
3. Determine the approximate angle of
downward tilt. It must be angled at least
5° down from horizontal to maintain the
stated enclosure IP55 rating. Tighten the
hex nuts until sufficiently tight enough to
hold the angle.
IMPORTANT: The
loudspeaker is
designed to be rotated 90° or mounted
upside-down.
Doing
so
water pooling in the safety cable recess,
compromising
rigging
performance, and may void the product
warranty. Pan-tilt and full rotation yokes
are available for multi-angled and down-
fire applications.
R.35-3896-EN
loudspeaker
not
may
cause
safety
and
Installation and Operation Manual
Figure 2. Orient the R.35 yoke correctly
Enclosure
Figure 3. Mount the loudspeaker to the yoke
Use holes aligned with large
center hole as primary mounting
points - these are aligned with the
center of gravity. Use other holes
as secondary reinforcement.
R.35 Yoke
2" OD
Yoke
Rubber Gasket
8mm SS
Lock Washer
8mm SS Flat Washer
8 x 32 mm SS Stud
(leave 3/4" sticking out)
Orient angled
side to the
rear of the
loudspeaker
8mm SS
Hex Nut
Page 5
