- ページ 9
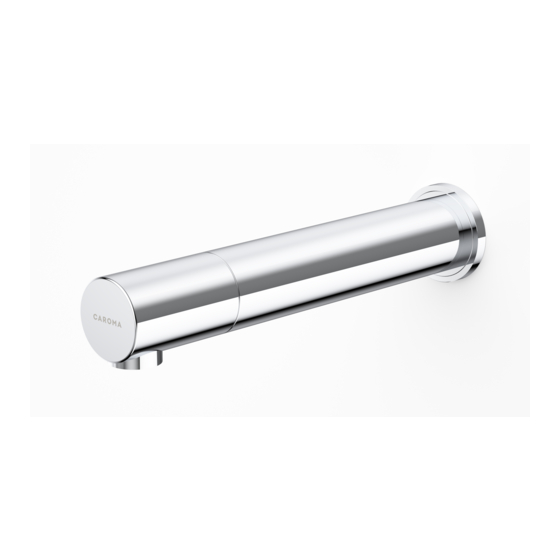
バスルーム設備 Caroma G SeriesのPDF インストールとメンテナンスの説明書をオンラインで閲覧またはダウンロードできます。Caroma G Series 16 ページ。 Electronic soap dispenser
Caroma G Series にも: インストールとメンテナンスの説明書 (16 ページ), インストレーション&メンテナンス・マニュアル (16 ページ), インストレーション&メンテナンス・マニュアル (17 ページ)

INSTAllATION
6. screw in the nut at the top of the soap
dispenser pump assembly to the soap
dispenser body nipple.
step 3 - connecting the power source
1. Remove the protective sticker
covering the sensor. Keep away from
the sensor range.
2. a. connect the motor connector to the power source connector. Please
note that since the connector is water proof, some friction might apply.
important: the 4 contacts connector should be connected properly so that the
white o-ring is not visible and a clicking sound is heard.
Pay attention: If the 4 contacts connectors will not be connected properly, the
motor will work continuously.
o-ring visible – not connected properly
connected properly
so that only the grooves are visible
9
