- ページ 8
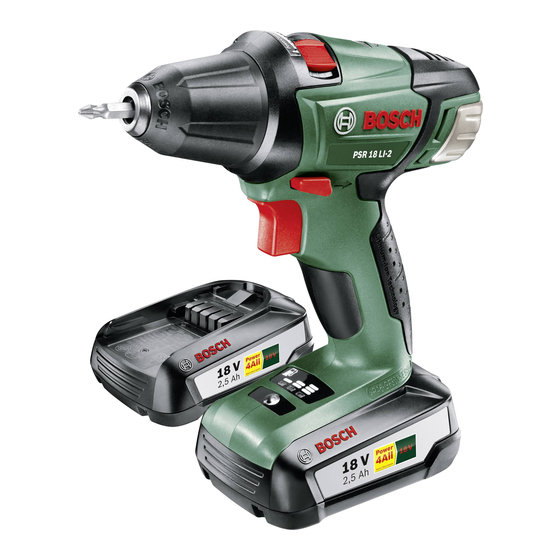
ドリル Bosch 4 LI-2のPDF 取扱説明書をオンラインで閲覧またはダウンロードできます。Bosch 4 LI-2 13 ページ。 Cordless drill/driver
Bosch 4 LI-2 にも: オリジナル取扱説明書 (6 ページ), オリジナル・インストラクション (5 ページ), オリジナル取扱説明書 (41 ページ)

OBJ_BUCH-870-003.book Page 19 Thursday, January 21, 2010 8:46 AM
Declaration of Conformity
We declare under our sole responsibility that
the product described under "Technical Data" is
in conformity with the following standards or
standardization documents: EN 60745 accord-
ing to the provisions of the directives
2004/108/EC, 2006/42/EC.
Technical file at:
Robert Bosch GmbH, PT/ESC,
D-70745 Leinfelden-Echterdingen
Dr. Egbert Schneider
Dr. Eckerhard Strötgen
Senior Vice President
Head of Product
Engineering
Certification
Robert Bosch GmbH, Power Tools Division
D-70745 Leinfelden-Echterdingen
13.01.2010
Assembly
Battery Charging (see figure A)
Use only the battery chargers listed on the
accessories page. Only these battery charg-
ers are matched to the lithium ion battery of
your power tool.
Note: The battery is supplied partially charged.
To ensure full capacity of the battery, complete-
ly charge the battery in the battery charger be-
fore using your power tool for the first time.
The lithium ion battery can be charged at any
time without reducing its service life. Interrupt-
ing the charging procedure does not damage the
battery.
The lithium ion battery is protected against
deep discharging by the "Electronic Cell Protec-
tion (ECP)". When the battery is empty, the ma-
chine is switched off by means of a protective
circuit: The inserted tool no longer rotates.
Do not continue to press the
WARNING
On/Off switch after the ma-
chine has been automatically switched off. The
battery can be damaged.
Bosch Power Tools
To remove the battery 7, press the battery un-
locking button 14 and pull the battery out of the
power tool toward the rear. Do not exert any
force.
For charging, the battery 7 can also remain in
the power tool. During the charging procedure,
the power tool cannot be switched on. Press the
On/Off switch 11 to check the charge condition
of the battery, see Section "Battery Charge-con-
trol Indication".
The battery is equipped with a NTC temperature
control which allows charging only within a tem-
perature range of between 0 °C and 45 °C. A
long battery service life is achieved in this man-
ner.
Observe the notes for disposal.
Auxiliary Handle (see figure B)
Operate your machine only with the auxilia-
ry handle 12.
The auxiliary handle 12 can be set to any posi-
tion for a secure and low-fatigue working pos-
ture.
Turn the wing bolt for adjustment of the auxilia-
ry handle 17 in anticlockwise direction and set
the auxiliary handle 12 to the required position.
Then tighten the wing bolt 17 again in clockwise
direction.
Adjusting the Drilling Depth
The required drilling depth X can be set with the
depth stop 15.
Press the button for the depth stop adjustment
16 and insert the depth stop into the auxiliary
handle 12.
The knurled surface of the depth stop 15 must
face downward.
Pull out the depth stop until the distance be-
tween the tip of the drill bit and the tip of the
depth stop correspond with the desired drilling
depth X.
2 609 004 467 | (21.1.10)
English | 19
