- ページ 11
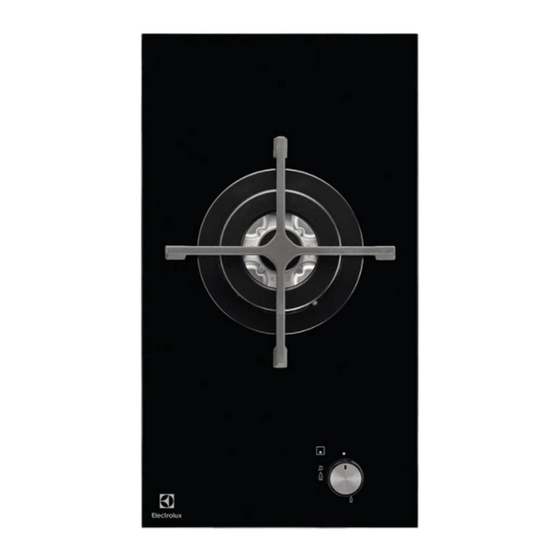
ホブ Electrolux EGC3313NOKのPDF ユーザーマニュアルをオンラインで閲覧またはダウンロードできます。Electrolux EGC3313NOK 16 ページ。 For a modern, premium look, choose this gas on glass hob. it combines the precision of cooking with gas, with the smooth style of ceramic glass.
Electrolux EGC3313NOK にも: ユーザーマニュアル (16 ページ), ユーザーマニュアル (20 ページ), ユーザーマニュアル (20 ページ)

7.4 Adjustment of minimum level
To adjust the minimum level of the burn-
ers:
1.
Light the burner.
2.
Turn the knob on the minimum posi-
tion.
3.
Remove the knob.
4.
With a thin screwdriver, adjust the by-
pass screw position.
A
A)
The by-pass screw
• If you change from natural gas G20 20
mbar to liquid gas, fully tighten the ad-
justment screw in.
• If you change from liquid gas to natural
gas G20 20 mbar, undo the by-pass
screw approximately 1/4 of a turn.
WARNING!
Make sure the flame does not go
out when you quickly turn the
knob from the maximum position
to the minimum position.
7.5 Electrical connection
• The electrical work necessary to install
the appliance must be done by a quali-
fied electrician or competent person,
according to the current regulations.
• The appliance must be earthed.
• Always use a correctly installed shock-
proof socket.
• Make sure that there is access to the
mains plug after the installation.
• Do not pull the mains cable to discon-
nect the appliance. Always pull the
mains plug.
• The appliance must not be connected
with an extension cable, an adapter or
a multiple socket. There is a risk of fire.
Make sure that the ground connection
complies with the standards and regu-
lations force.
• The power cable must not touch any
hot parts.
• The electrical installation must have an
isolation device which lets you discon-
nect the appliance from the mains at all
poles. The isolation device must have a
contact opening width of minimum 3
mm.
• You must have the correct isolation de-
vices: line protecting cut-outs, fuses
(screw type fuses removed from the
holder), earth leakage trips and contac-
tors.
• The connection cable parts must not be
heated to a temperature above 90°C.
Electrical Requirements
Permanent electrical installation must
comply with the latest I.E.E. Regulations
and local Electricity Board regulations. For
your own safety the installation must be
done by a qualified electrician (e.g. your
local Electricity Board, or a contractor
who is on the roll of the National Inspec-
tion Council for Electrical Installation Con-
tracting [NICEIC]).
The manufacturer declines any liabili-
ty if these safety measures are not
observed.
The appliance must be connected to a
230 V 50 Hz AC electrical supply.
Before activating the appliance, make
sure the electrical supply voltage is the
same as that indicated on the rating plate.
The rating plate is located on the bottom
of the appliance.
The appliance is supplied with a 3 core
flexible supply cord requiring a 3 amp
plug.
You must obtain and install the plug. The
wires in the mains lead are coloured in ac-
cordance with the following code:
Green and yellow
Blue
Brown
1.
Connect the green and yellow (earth)
wire to the terminal in the plug which
is marked with the letter 'E' or the
earth symbol
and yellow.
2.
Connect the blue (neutral) wire to the
terminal in the plug which is marked
with the letter 'N' or coloured black.
ENGLISH
11
- Earth
- Neutral
- Live
, or coloured green
