- ページ 8
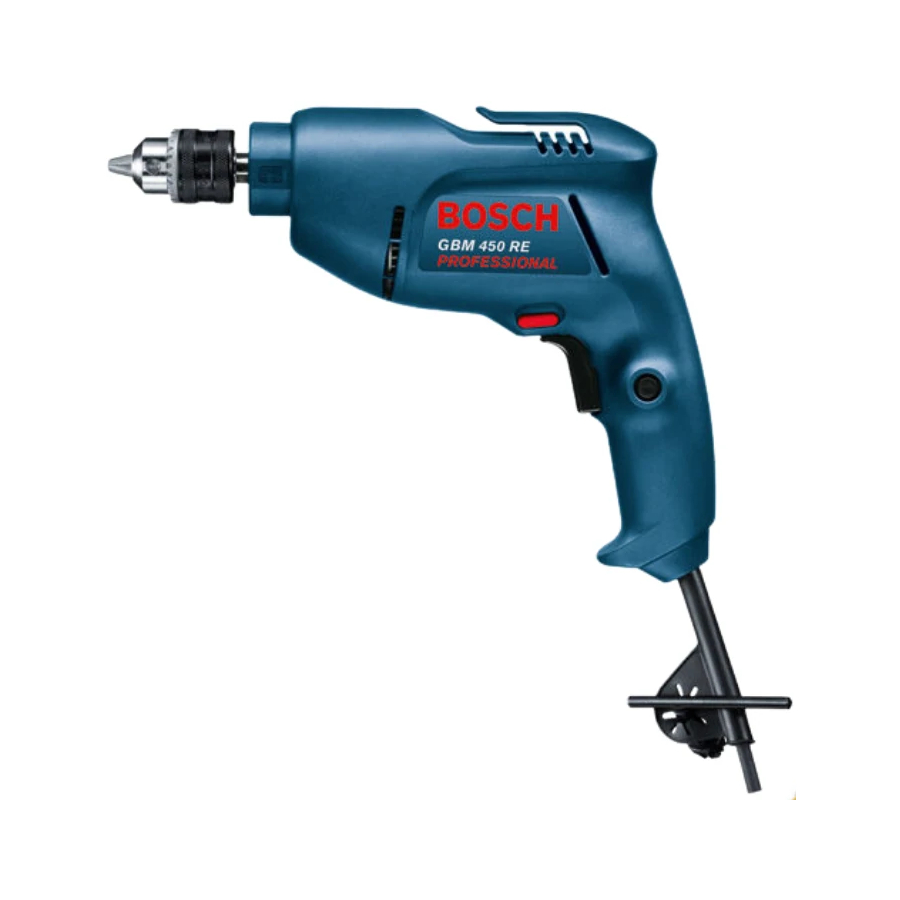
ドリル Bosch GBM 450 RE PROFESSIONALのPDF 取扱説明書をオンラインで閲覧またはダウンロードできます。Bosch GBM 450 RE PROFESSIONAL 10 ページ。

Assembly
Auxiliary Handle (Accessory)
(see figure A)
The auxiliary handle 8 can be set to any position for a
secure and low-fatigue working posture.
Turn the wing bolt for adjustment of the auxiliary
handle 7 in anticlockwise direction and set the auxiliary
handle 8 to the required position. Then tighten the wing
bolt 7 again in clockwise direction.
Adjusting the Drilling Depth
The required drilling depth X can be set with the depth
stop 9.
Loosen the wing bolt for the depth stop adjustment 6
and insert the depth stop rod into the auxiliary handle 8.
The knurled surface of the depth stop 9 must face
upward.
Pull out the depth stop until the distance between the
tip of the drill bit and the tip of the depth stop corre-
spond with the desired drilling depth X.
Retighten the wing bolt for the depth stop adjustment
6 again.
Changing the Tool
Before any work on the machine itself, pull
the mains plug.
Wear protective gloves when changing the
tool. The drill chuck can become very hot during
longer work periods.
Keyless Chuck (see figure B)
Hold the rear sleeve 12 of the keyless chuck 10 tight
and turn the front sleeve 11 in rotation direction
the tool can be inserted. Insert the tool.
Hold the rear sleeve 12 of the keyless chuck 10 tight
and firmly tighten the front sleeve 11 by hand in rotation
direction
, until the locking action (click) is heard. The
drill chuck is locked automatically.
The locking is released again to remove the tool when
the front sleeve 11 is turned in the opposite direction.
Key Type Drill Chuck (see figure C)
Open the key type drill chuck 1 by turning until the tool
can be inserted. Insert the tool.
Insert the chuck key 13 into the corresponding holes of
the key type drill chuck 1 and clamp the tool uniformly.
Screwdriver Tools (see figure D)
When working with screwdriver bits 14, a universal bit
holder 15 should always be used. Use only screwdriver
bits that fit the screw head.
2 609 140 459 • 18.1.07
Replacing the Drill Chuck
Before any work on the machine itself, pull
the mains plug.
Dismounting the Key Type Drill Chuck
(see figure E)
To dismount the key type drill chuck 1, position an
open-end spanner 16 (size 11 mm) against the span-
ner flats of the drive spindle.
Place the machine on a firm support, e.g., a workbench.
Insert the chuck key 13 into one of the three holes of
the key type drill chuck 1 and release the key type drill
chuck 1 with this lever by turning in rotation direction
. Loosen a tight seated key type drill chuck with a light
blow on the chuck key 13. Remove the chuck key 13
from the key type drill chuck and completely unscrew
the key type drill chuck.
Dismounting the Keyless Chuck
(see figure F)
To dismount the keyless chuck 10, clamp an Allen key
17 into the keyless chuck 10 and position an open-end
spanner 16 (size 11 mm) against the spanner flats of
the drive spindle. Place the machine on a firm support,
e.g., a workbench. Hold the open-end spanner 16 firmly
and loosen the keyless chuck 10 by turning the Allen
key 17 in rotation direction
keyless chuck by giving the long end of the Allen key 17
a blow. Remove the Allen key from the keyless chuck
and completely unscrew the keyless chuck.
Mounting the Drill Chuck
The keyless chuck/key type drill chuck is mounted in
reverse order.
The drill chuck must be tightened with a
tightening torque of approx. 25–30 Nm.
, until
Operation
Starting Operation
Observe correct mains voltage! The voltage of
the power source must agree with the voltage
specified on the nameplate of the machine.
Power tools marked with 230 V can also be
operated with 220 V.
Reversing the Rotational Direction
(GBM 450 RE)
The rotational direction switch 5 is used to reverse the
rotational direction of the machine. However, this is not
possible with the On/Off switch 4 actuated.
Right rotation: Press the rotational direction switch 5
through to the right stop (for drilling and driving
screws).
. Loosen a tight seated
English | 15
