- ページ 2
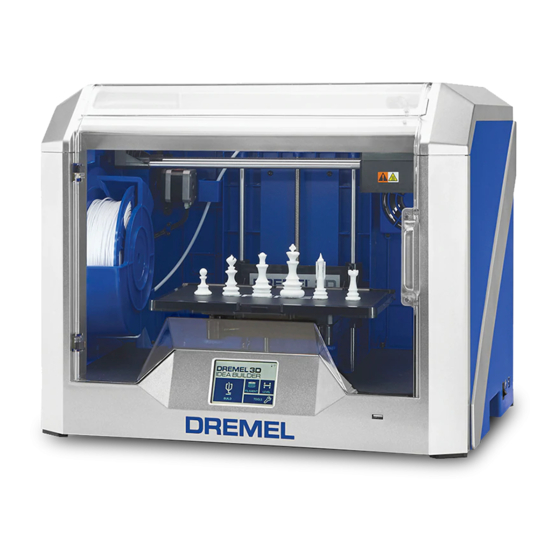
3Dプリンター Dremel 3D40 Idea BuilderのPDF 使用方法をオンラインで閲覧またはダウンロードできます。Dremel 3D40 Idea Builder 5 ページ。 Clogged heatsink tube replacement
Dremel 3D40 Idea Builder にも: クイック・スタート・マニュアル (2 ページ), マニュアル (4 ページ), サービス手順 (2 ページ)

Step 2: Remove Top Cover of Extruder
1. Cut the filament just before the intake on the top of the
extruder.
2. Unscrew the two screws on the top of the filament guide
bracket.
Figure 4: Extruder cover removal
3. Remove the top cover.
4. Carefully unplug filament runout switch from the extruder
circuit board, ensuring to pull from the plastic plug and not
the wires; pulling the wires can damage the connection to
the extruder.
Figure 5: Runout switch connector being disconnected
from extruder PCBA
Figure 3
Step 3: Removing the Shielded Circuit Cable
1. Using the 2 black push pins (top encircled yellow, bottom
hidden) of the shielded circuit ribbon cable, push down to
release it from the circuit board.
Figure 6: Disconnect shielded circuit ribbon cable
from extruder PCBA
2. Remove the connector from the circuit board and pull up
on the cable. Always use great care when handling a
shielded circuit cable.
Figure 7: Removal of ribbon cable from extruder housing
3. Set aside the cable within the machine, making sure there
are no sharp kinks or turns produced.
2
