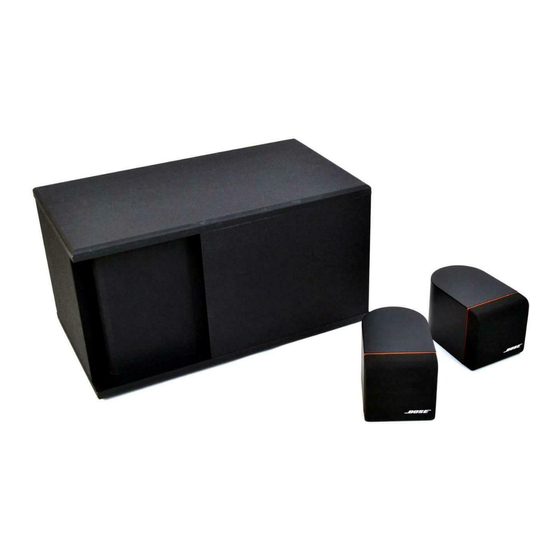
3. Twiddler Removal
A. Remove Grille from enclosure. Use
Procedure 1.
B. Remove the 4 screws (3) holding the twiddler
(2) in place. Lift the twiddler out and cut the wires
connected to the twiddler as close to it's
terminals as possible.
4. Twiddler Replacement
A. Strip the wires and connect them to the
replacement twiddler (2).
NOTE: The positive (+) terminal of each twiddler
is marked with a red dot.
B. Connect the red wire to the positive (+)
twiddler terminal and the black wire to the
negative (-) twiddler terminal.
C. Lower the twiddler into the satellite enclosure
and secure the twiddler to the enclosure with 4
screws (3). Repeat the satellite test procedures.
D. Return the Grille Assembly to the front of the
Satellite Enclosure.
7. Connector Removal
Use Procedure 1 and 3 to access the inside of
the satellite enclosure.
A. After the twiddler has been removed, pull out
the polyester batting (4) from the enclosure.
B. Use a pair of pliers to press the connector's
(6) release snaps together. Push the connector
out of the enclosure.
C. Cut the wires to the connector as close as
possible.
8. Connector Replacement
A. Strip the wires and connect them to the
replacement connector (6).
NOTE: The positive (+) terminal is marked red.
B. Connect the red wire to the positive (+)
terminal and the black wire to the negative (-)
terminal.
C. Press the terminal into the back of the
enclosure until it snaps into place.
17
