- ページ 10
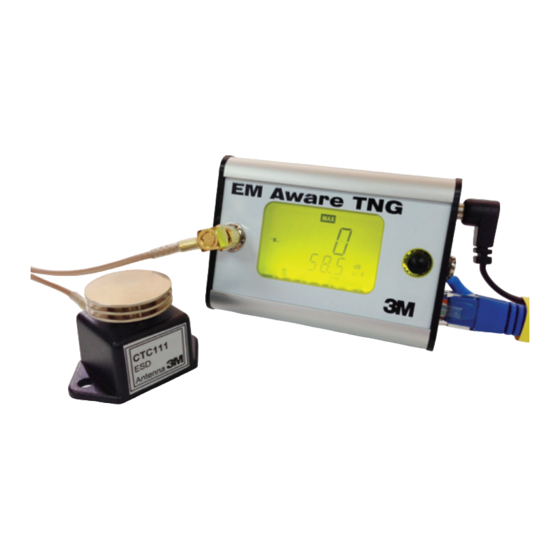
モニター 3M 3M034-3-TNGのPDF ユーザーマニュアルをオンラインで閲覧またはダウンロードできます。3M 3M034-3-TNG 15 ページ。 Em aware tng esd event monitor, including starter kits

Verification of Ionization - Parameters
1. At the main screen display (no "REF" symbol), move the joystick until the
display is as shown similar above.
2. To manually test the discharge time, press the joystick momentarily.
3. The discharge time is also automatically measured every two minutes.
4. To change the voltage range and thresholds, push the joystick longer until a
new screen appears. The new screen is as shown below.
5. Move the joystick up or down to increase or decrease the time threshold.
Polarity (+/-) Symbol
Dot Level Graphics
6. Move the joystick left or right to decrease or increase the ionization
threshold.
7. To finalize the settings, push the joystick longer until the screen shows the
main static voltage screen.
Application note: Measuring Ionization
Observe the waveform in the third row. Notice that the line is close to the zero level. This would indicate a balanced condition. A line that is above
or below the zero level represents the voltage seen. An alarm indication on the 3M
threshold was exceeded.
Application note: Measuring Discharge Time
Time to discharge is measured at intervals of approximately two minutes. Observe the dot level line on the bottom of the display (see previous
page). If the time to discharge exceeds the threshold time, an alarm is heard on the EM Aware TNG ESD Event Monitor.
Threshold Status
Voltage Seen, V
Time, Seconds
Threshold, V
Charge Threshold, (3.0 seconds as shown)
™
EM Aware TNG ESD Event Monitor means that the voltage
9
