- ページ 9
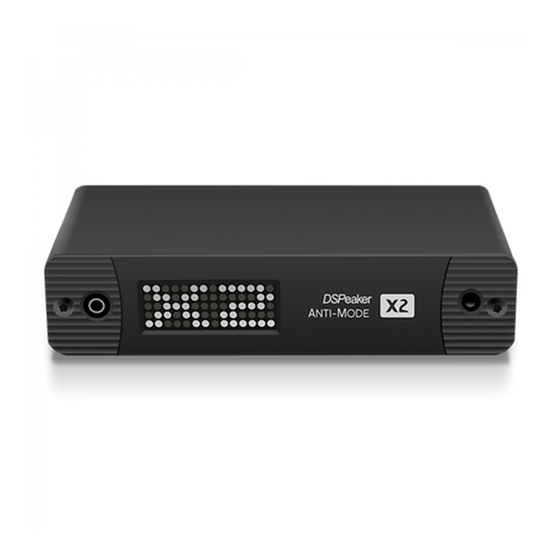
ネットワーク・ハードウェア DSPeaker Anti-Mode X2のPDF ユーザーマニュアルをオンラインで閲覧またはダウンロードできます。DSPeaker Anti-Mode X2 12 ページ。

2.Calibration
Anti-Mode
TM
X2 features a powerful and automatic Anti-Mode
the combined response of the connected speakers, optional subwoofer, and the room, producing a result
without undesirable peaks in the response.
During the calibration process the Anti-Mode algorithm measures the acoustic environment by playing
various tones through your audio system. This will take a few minutes to complete.
The measurement process is designed to be resilient against background noise, but it can be beneficial to
choose a moment when the listening room is relatively quiet. It is also a good idea to turn off any noisy
equipment such as air conditioning for the duration of the measurements.
Before the calibration
Fix the microphone firmly in place so that the microphone capsule end is at the center of the
primary listening position, at about ear height.
If your system features a subwoofer that has an adjustable low-pass filter, it is good to disable the
filter, or set the cut-off frequency to the maximum value. With Anti-Mode the best place for a
subwoofer is near the corner of the room.
Make sure your active speakers or power amplifiers and/or subwoofer are connected to the
correct outputs of the Anti-Mode X2 and turned on.
It is good to adjust the gain of all connected speakers and subwoofer so that the main speakers
and subwoofer are approximately equally loud.
Running the calibration
Turn on the Anti-Mode X2 unit. Connect the microphone cable to the microphone input at the
front panel. The unit enters the calibration mode automatically.
f
e
/
to choose the system configuration
"2.0" for stereo or "2.1" for stereo with a
subwoofer and press
Noise starts playing and you can adjust the calibration volume using
f
e
/
. The volume setting is shown as a small bar at the top and
the sound pressure level picked up by the microphone as a larger bar
at the bottom. Adjust the level until the bottom bar reaches the
vertical line on the left of the + sign, then start calibration with
The calibration process performs several frequency sweeps. The
number of sweeps depends on the chosen system configuration. After
the calibration is finished, the display shows "MIC v" to prompt you to
remove the microphone.
Rev. 1.1
i
.
2022-08-10
TM
algorithm, which measures and corrects
i
.
A
-M
TM
X2
NTI
ODE
U
'
G
SER
S
UIDE
Page 9 (12)
