- ページ 2
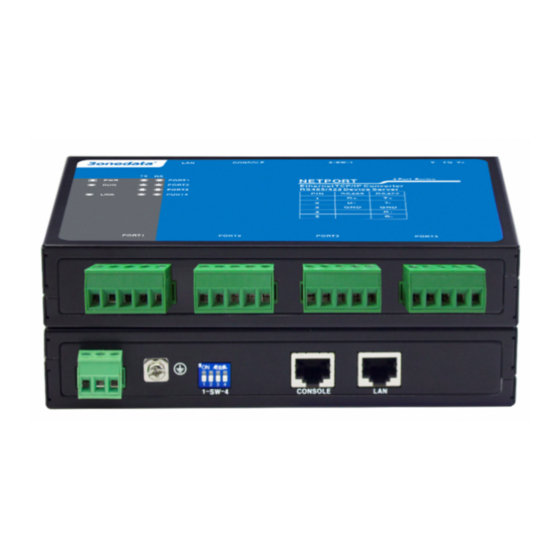
サーバー 3onedata NP318T-8DIのPDF クイック・インストール・マニュアルをオンラインで閲覧またはダウンロードできます。3onedata NP318T-8DI 3 ページ。 Serial device server
3onedata NP318T-8DI にも: クイック・インストール・マニュアル (4 ページ)

13.
10/100Base-T(X) Ethernet ports
【Mounting Dimension】
Unit: mm
~
Model I
Model VI
Model VII, Model VIII
Note Before Mounting:
Don't place or install the device in area near water or
moist, keep the relative humidity of the device
surrounding between 5%~95% without condensation.
Before power on, first confirm the supported power
supply specification to avoid over-voltage damaging the
device.
The device surface temperature is high after running,
please don't directly contact to avoid scalding.
【Wall Mounting】
Mounting the Device
Step 1
Adopt M3 screw to install the left/right mounting
board on the device backboard.
Step 2
On the wall of device mounting, place the device on
the wall for reference or reference the mounting
dimension to mark the four screws position.
Step 3
Nail two M4 screws on the wall and keep 2mm
interspace reserved.
Step 4
Hang the device on two screws and slide
downward, then tighten the screw to enhance
stability, mounting ends.
Device Disassembling
Step 1
Device power off.
Step 2
Unscrew the screw on the wall about 2mm.
Step 3
Lift the device upward slightly, take out the device,
disassembling ends.
【Power Supply Connection】
DC power supply
The serial device server provides 3 industrial
terminal blocks, in which V+ and V- are DC
input and FG is ground input. The power
supply has nonpolarity and anti-reverse functions, Power
supply range: 12~48VDC.
Note:
Power ON operation: first connect power line to the
connection terminal of device power supply, then power
on.
Power OFF operation: first unpin the power plug, then
remove the power line, please note the operation order
above.
【Console Port Connection】
The device provides 1 channel procedure
debugging port based on RS-232 serial port.
1
8
The interface adopts RJ45 port. The PIN
definition as follows.
PIN
2
3
PIN definition
TXD
RXD
【DIP Switch Setting】
Provide 4-bits DIP switch for function setting,
where "ON" is enable valid terminal. Please
power off and power on after changing the status of DIP
switch. DIP switch definition as follow:
1. Reserved
2. Restore factory setting
3. Reserved
4. Reserved
【Serial Port Connection】
RS-232/485/422 Port (3IN1)
Model I, model II, model III, and model IV
provide RS-232/485/422 port(3IN1), serial
1
8
device server adopts RJ45 connector. The
PIN definition as follows.
PIN
1
2
3
4
5
RS-232 DSR RTS GND TXD RXD DCD CTS DTR
RS-485 —
—
GND —
—
RS-422 —
R-
GND R+
—
RS-485/422 Port
5
GND
6
7
8
D-
—
D+
T-
—
T+
