- ページ 4

電卓 Casio CFX-9950GB PLUSのPDF 通信マニュアルをオンラインで閲覧またはダウンロードできます。Casio CFX-9950GB PLUS 13 ページ。 6. matrix calculations
Casio CFX-9950GB PLUS にも: ソフトウェアマニュアル (20 ページ), ユーザーマニュアル (18 ページ), プログラム・マニュアル (18 ページ), 最初に読むマニュアル (13 ページ), 機能マニュアル (14 ページ), グラフマニュアル (8 ページ), グラフマニュアル (6 ページ), グラフマニュアル (12 ページ), グラフマニュアル (12 ページ), グラフマニュアル (12 ページ), グラフマニュアル (12 ページ), グラフマニュアル (10 ページ), 計算マニュアル (13 ページ), 計算マニュアル (18 ページ), 計算マニュアル (15 ページ), 複素数マニュアル (6 ページ), 計算マニュアル (6 ページ), 計算マニュアル (20 ページ)
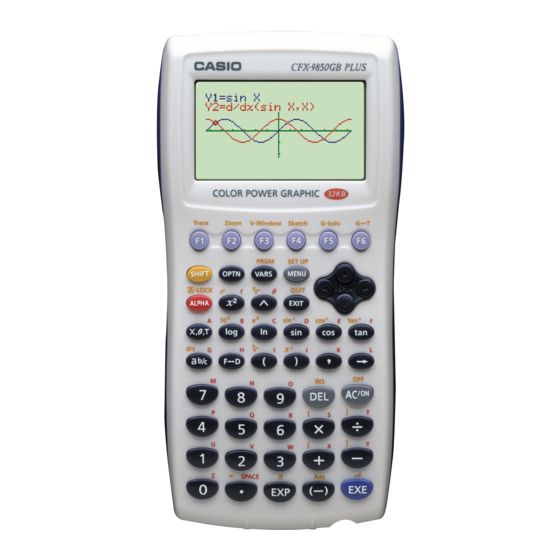
Casio CFX-9950GB PLUS 通信マニュアル
21-3 Connecting the Unit with a CASIO Label
Printer
After you connect the unit to a CASIO Label Printer with an optional SB-62 cable,
you can use the Label Printer to print screen shot data from the unit. See the
user's guide that comes with your Label Printer for details on how to perform this
operation.
u u u u u To connect the unit with a Label Printer
1. Check to make sure that the power of the unit and the Label Printer is off.
2. Connect the optional SB-62 cable to the Label Printer.
3. Remove the cover from the connector of the unit.
4. Connect the other end of the SB-62 cable to the unit.
5. Turn on the power of the unit, followed by the Label Printer.
402
• The operation described above can be performed using the following Label
Printer models: KL-2000, KL-2700, KL-8200, KL-8700, KL-8800 (as of April
2001).
• Be sure you keep the connector cover in a safe place so you can replace it
after you finish your data communications.
• After you finish data communications, turn off power in the sequence: the unit
first, and then the Label Printer. Finally, disconnect the equipment.
Label Printer
SB-62 cable