- ページ 8
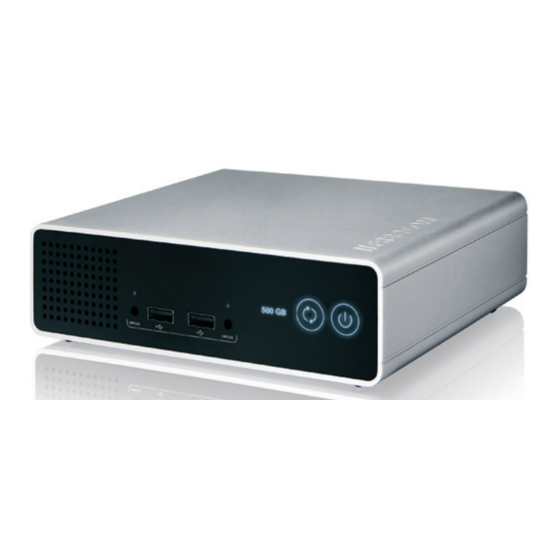
ドッキングステーション Freecom NETWORK HARD DRIVE PROのPDF ユーザーマニュアルをオンラインで閲覧またはダウンロードできます。Freecom NETWORK HARD DRIVE PRO 14 ページ。 Docking station / 2.5” & 3.5” sata & pata (ide) / usb 2.0
Freecom NETWORK HARD DRIVE PRO にも: 仕様 (2 ページ), 仕様 (2 ページ), 仕様 (2 ページ), データシート (2 ページ), 仕様 (2 ページ), 概要 (3 ページ)

Freecom Blu-ray Rewriter Pro / Blu-ray Combo Pro
1. Driver Installation
EN
Under Windows XP, Vista, Windows 7 and Mac OS X a separate driver is not required.
The drivers will be installed automatically by the operating system after plugging in the
1
Freecom Blu-ray Rewriter Pro / Blu-ray Combo Pro into the USB port of your computer.
Your Freecom Blu-ray Rewriter Pro / Blu-ray Combo Pro is fully backwards compatible
with USB 1.1. The installation for USB 1.1 is the same as described below for USB 2.0.
1.4 Allocation of the drive letter to the Freecom drive (PC)
After successfully completing the installation of the Freecom drive a new drive letter is
assigned automatically. This can shift the drive letter of an internal drive (for example,
'D' to 'E'). If this leads to problems, it is possible to change the drive letter assignment
as follows:
1. Click on the „Start"/"Windows" button.
2. Right-click on „Computer" and select „Manage" – „Disk Management".
3. Right-click on the drive whose drive letter is going to be changed and select „Change
drive letter and path ...".
4. In the next window, click „Change" and select a drive letter in "Assign the following
drive letter ...".
5. Confirm the change by clicking on „OK".
