- ページ 5
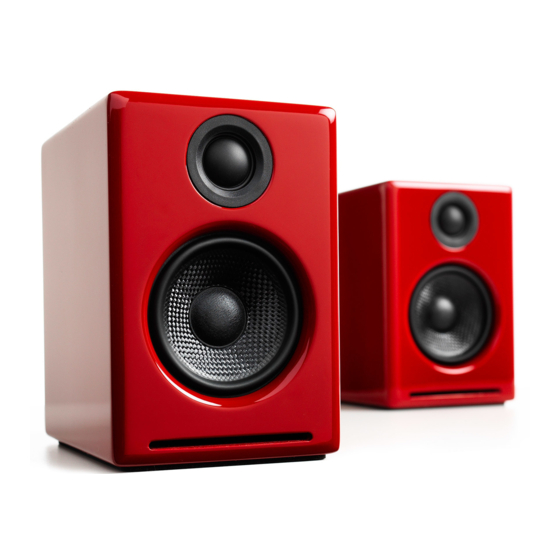
スピーカー AudioEngine A2+のPDF セットアップマニュアルをオンラインで閲覧またはダウンロードできます。AudioEngine A2+ 11 ページ。 Premium powered desktop speakers
AudioEngine A2+ にも: セットアップマニュアル (11 ページ), セットアップマニュアル (11 ページ)

Setup and Operation
Step 1 - Connecting the speaker wire
In from
Left
V06
Speaker wire connection
➊
1. Use your thumb and finger to unscrew the connectors.
2. Insert each speaker wire into the holes on the side of
connectors.
3. Retighten the connectors with your fingers.
4. The bare portion of the wire should be secured firmly in each
connector.
Repeat the procedure to connect the other end of the speaker
wire to the other speaker. Check to make sure none of the
speaker wire strands have come in contact with a nearby
connector.
6
A2+ setup guide
Volume
Input
Input
Output
R
L
USB Input
Out to
Right
Power
17.5V
1.8A
Designed by Audioengine Made in China
➋
As the A2+ speakers have the power amplifiers built inside, do
not connect the speaker terminals to the speaker outputs of a
stereo receiver.
Step 2 - Connecting the Power Supply
➊
INPUT:
100-240V~ 50/60Hz 1.8A
+
–
OUTPUT:
±
17.5V
2.0A
GND
Assembled in China
➋
Power cord connection
➊
Verify that the volume/power switch on the rear panel of the left
speaker is in the OFF position by rotating it counterclockwise
until it clicks off.
1. Connect the cable from the power supply to the left speaker
rear panel.
2. Connect the power cable to the other end of the power
supply.
Volume
Input
Input
Output
R
L
USB Input
Out to
Right
Power
17.5V
1.8A
Designed by Audioengine Made in China
Power
17.5V
1.8A
➋
7
