- ページ 2
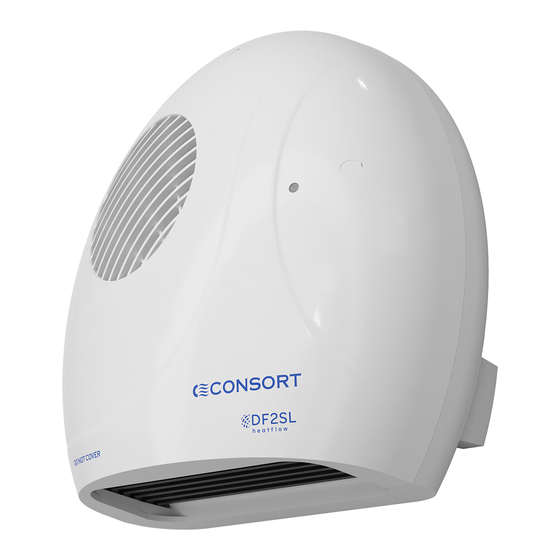
ヒーター Consort DF2SL heatflowのPDF 取付・取扱説明書をオンラインで閲覧またはダウンロードできます。Consort DF2SL heatflow 2 ページ。
Consort DF2SL heatflow にも: インストレーション・マニュアル (7 ページ)

S A F E T Y & C A R E
The appliance is NOT intended for use by persons (including
children) with reduced physical, sensory or mental capabilities or
lack of experience or knowledge unless they have been given
instruction concerning use of the appliance by a person
responsible for their safety. Children should be supervised to
ensure that they do not play with the appliance. Parts of the
heater can become very hot and cause burns. The heater is not
equipped with room thermostat and should not be used in small
rooms so as to avoid overheating.
W A R N I N G
DO NOT install the heater directly above power outlet.
DO NOT operate the heater with the front cover removed.
DO NOT site the heater in a corner.
DO NOT handle the appliance with wet hands.
DO NOT use the appliance in workshops or rooms where
excessive dust is generated or present.
DO NOT touch outlet grille when the appliance is in use.
DO NOT cover or restrict any aperture of the appliance.
DO NOT use the appliance if damaged.
DO NOT leave the appliance unattended where young children
are present.
Ensure that nothing is pushed into any aperture.
Ensure that there is nothing flammable below the heater.
O V E R H E A T I N G P R O T E C T I O N
The appliance is fitted with an electronic overheating protection, thermally operated cut
-out and thermal fuse. These are safety devices which switch the heater off if, for any
reason, it overheats. The electronic protection and cut-out can only be reset after the
appliance has cooled down. In order to reset the protection, proceed as follows:
Remove the cause of overheating and switch power off to the heater and leave for
·
approximately 10 minutes. Switch the power back.
·
Ensure that the appliance is functioning correctly. If the thermal protection control
operates again, it should be checked by a competent person.
The heater carries a 'Do Not Cover' symbol to warn the user that if the appliance is
covered, there is a risk of overheating.
C L E A N I N G
Always disconnect the heater from the mains before cleaning. The heater should not
require any maintenance, but it is strongly advised that it is kept clean. An occasional
wipe over with a soft cloth and using a vacuum cleaner to remove dust from apertures is
all that should be necessary.
I N S T A L L A T I O N
The heater must be wall mounted at minimum height of 1m from the floor. For the best
performance the heater should be mounted at 1.8m from the floor. When installing the
heater, the minimum clearances (shown below) must be followed.
C O N N E C T I O N T O T H E
M A I N S S U P P L Y
Electrical installation should be
carried out by a competent
installer in accordance with the
latest edition of the IEE Wiring
Regulations, (BS.7671), and any
relevant Local Authority Bye-Laws.
This heater must be permanently
connected to the electricity supply
via a double pole switch having
3mm gap on each pole. There are
no exceptions. A switched Fused
Connection unit to BS.1363. Part 4 is
a recommended mains supply
connection accessory to ensure
compliance with safety
requirements applicable to fixed-
wiring installation.
Note: When switched on for the first time the appliance may emit a slight smell. This is
purely the evaporation of a fluid used in the manufacturing process.
57000832 Iss 01
To install the heater, remove the 3
screws securing the front cover
and remove the cover. Use the
selector switch to select between
1kW or 2kW heat output. Mark the
position of the 2 keyhole slots.
Using suitable fixings, screw in 2
screws, leaving the heads 4mm
from the wall. Hang the heater
onto the screws and mark the
position of the top hole. Remove
the heater and install a suitable
fixing for the final screw.
Feed the supply cord through the
cable entry hole, hang the heater
and securely fasten all 3 screws.
Use the cable clamp to secure
the cord and connect the line
connection to the terminal
marked L, and the neutral to the
terminal marked N. Reattach the
front cover and insert supplied
screw caps to hide the screws.
57000832 Iss 01
