- ページ 10
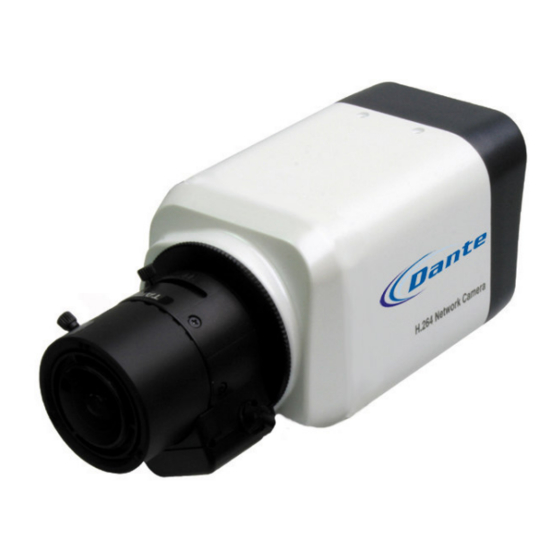
IPカメラ Dante DN1125A1のPDF 設置および操作マニュアルをオンラインで閲覧またはダウンロードできます。Dante DN1125A1 15 ページ。 H.264/mpeg4/mjpeg ip box camera dual configurable video streams with duplex audio, data, alarms
Dante DN1125A1 にも: 設置および操作マニュアル (15 ページ)

Adaptor for mounting the camera
10
Mounting adapter is provided on the bottom of the camera for mounting the
camera on a bracket or tripod. Adapter is designed to accept standard size
mounting screws. It may be unfastened and the mounted onto the top side of the
camera, depending on User application.
Caution: The mounting bracket must be capable of supporting the weight of
the camera and its lens.
3.4. Lens Installation
CCW
CCW
CW
CW
SET SCREW
SET SCREW
Figure 3. Lens installation
3.4.1. Installing C/CS Mount lens
1. Remove the protective rubber cap from the front of the camera
2. Install the mount ring for lens and adjust the mount ring to fit C or CS lens.
3. Tighten the setscrews using hex wrench provided in the package.
3.4.2. Installing an Auto IRIS lens
1. Remove the cover of the auto iris lens plug and connect it with the lens cable.
2. Connect the auto iris lens plug to the 4-pin lens terminal on the side of the
camera.
3. Move to EE mode switch to ALC mode.
4. Adjust to the DC LEVEL carefully to avoid hunting
Note: Use the connection recommended by the manufacturer. For best practices,
read the lens manual carefully. User may need to set the flange back focus.
