- ページ 2
録音機器 Audiothingies Doctor AのPDF クイック・スタート・マニュアルをオンラインで閲覧またはダウンロードできます。Audiothingies Doctor A 4 ページ。
Audiothingies Doctor A にも: マニュアルの補遺 (3 ページ)

Rear panel
1
9V DC input
2
MIDI input
NB: Always use the provided 9V DC adapter
A word of warning before using
Make sure your monitoring system is turned off before powering on or off your
.
is capable of very high output levels, especially with high delay feedback level
reaching auto-oscillation, so please take care of your ears while operating
Secondary parameters
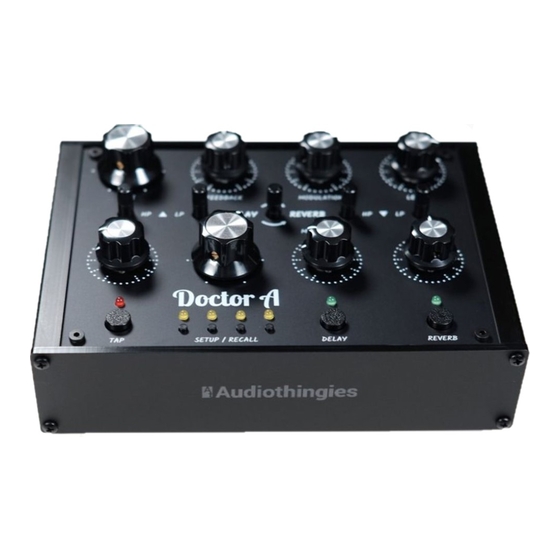
2 hidden parameters are accessible by holding TAP and turning 1 pot (see front panel layout):
2
Ping-pong L/R delay time offset
Default factory value is 12 o'clock. These settings are auto-saved at power-off.
Memory Recall
has 4 memories to store and recall up to 4 delay + reverb configurations, so you can
have ping pong + short reverb in memory 1, spacey + concert hall in memory 2, etc...
These settings are auto-saved in the active memory slot.
Useful stuff to know
MIDI: When
Signal path: Both effects are processed in parallel, if you want the delay to be effected by the
reverb, use pot 7 (Delay to Reverb send level).
3+4 Audio inputs
5+6 Audio outputs
receives a MIDI clock, it syncs to it and pot 1 is used as a time divisor.
7+8 CV inputs (0 to 5V)
3
Delay modulation speed
.
