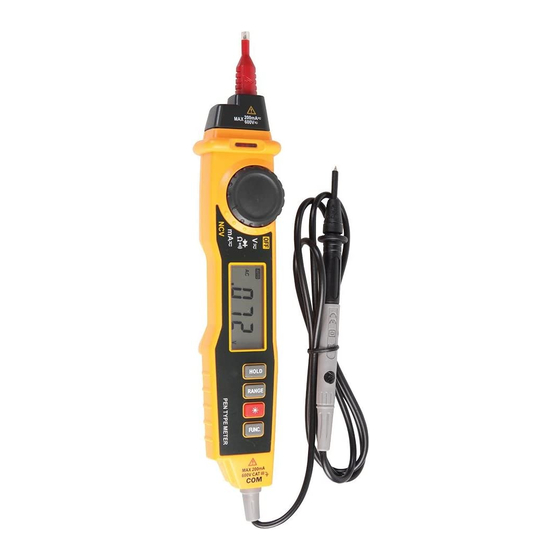
OVERVIEW
Number
1
Test probe
2
Light
3
Non-contact voltage induction area
4
Non-contact voltage indicator
5
Rotary dial
6
Display
Buttons:
•
Data Hold
•
Range Select
•
Backlight and Light - press and
7
hold for more than two seconds
to turn the backlight on. Press
and hold for two more seconds
to turn off.
8
Black probe
MEASUREMENT OPERATION
Manual & Automatic Range
•
The instrument is equipped with manual and automatic range. In automatic range
mode, the instrument will select the best range for the input signal detected. This
way the user does not need to re-select range when changing the measuring
signal.
•
The instrument can also be set to manual range.
•
The default mode is automatic range mode after the unit is turned the default
mode is automatic range on or the function is switched, the instrument displays
"AUTO" symbol.
•
The operations of entering or quitting manual range are as follows:
- In automatic range mode, press the "Range" button. The "AUTO" symbol will
be hidden.
- Press the "Range" button to increase the range. When the maximum range
is reached it will return to the minimum range.
- Press and hold the "Range" button for two seconds to quit manual range
mode. The instrument will display the "AUTO" symbol.
Note: There is only one range for connectivity and diode function.
If there is no operation for 15 minutes after being turned on, the instrument will make
five short sounds.
One minute later, it will make a longer sound before automatically turning off.
After automatic turn-off, press any button between "FUNC." and "HOLD" and the
instrument will turn back on.
By pressing the "FUNC." button to turn the instrument back on, it will cancel the
Description
1
2
3
4
4
5
6
7
8
