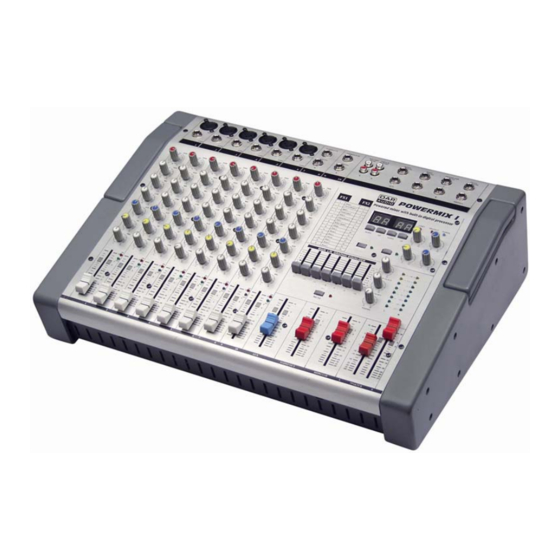
- ページ 10
DJ機材 DAPAudio Powermix 1のPDF マニュアルをオンラインで閲覧またはダウンロードできます。DAPAudio Powermix 1 18 ページ。

1. MIC
Electronically balanced XLR-type inputs for connecting low-impedance microphones.
The input provides extremely low noise and low hum signal processing. When
connecting a microphone make sure that the pin assignment is correct. Always make
sure to read the manual of the microphone you want to connect. The XLR-inputs are
not suitable for connecting an additional mixing console, FX-unit, etc. You have to use
the LINE-inputs, when connecting this kind of equipment.
2. LINE
Electronically balanced inputs for the connecting a keyboard, CD player , mixer, etc.
You can connect balanced or unbalanced signal sources to the Line input. Do not
connect signal devices to a channel's MIC and LINE input at the same time, This will
cause mutual interference, which results in level reduction.
Note: When connecting signal sources, please make sure that the
corresponding channel faders and the master faders are at their minimum
settings. Otherwise unpleasant plug-in noise can occur.
3. GAIN
Mic Channel input level is determined by the Gain control.
With the Gain control you can adjust the MIC or LINE input-sensitivity, while optimally
matching the incoming signals to the mixer's internal operation level. When dealing
with very low input levels (example vocal recordings or distant sound sources) the
high gain is extremely profitable.
How to set the Input level:
1) Set the gain control and the corresponding channel fader to their minimum setting.
2) Connect the desired sound source (CD player, microphone, ect) to the
corresponding MIC or LINE input.
3) Play the sound source at its highest volume setting; respectively, sing or speak as
loud as possible directly into the microphone.
4) While doing so, adjust the input level using the gain control, so that during the
loudest passages the PEAK LED is just not lit, but the SIGNAL-LED lights
constantly.
This basic channel setting leaves you at least 8dB headroom. This means, you have
at least 8dB before signal clipping. If you want to make further adjustments to the
channel's EQ setting, you should repeat step 3 and 4 again.
4 / 5 / 6 Equalizer SECTION (HI / MID / LOW)
The mixer's Equalizer section allows shaping of the incoming audio signal. All mono
input channels are fitted with 3-band EQ. The upper (4) and lower (6) shelving
controls have their frequencies fixed at 12 Khz and 80 Hz respectively. The Mid range
control (5) has a peaking response frequency at 2.5 Khz. All 3 bands have up to 15
dB cut and boost, with a centre detent for "OFF". Turning the Equalizer level control to
the right amplifies the frequency range, turning to the left attenuates the signal. Minor
changes to the Equalizer control usually produce the best results. Try to avoid
excessive enhancement of the MID band.
7. AUX
The Aux control allows you to change the Aux Channel to the Aux Mix. The range is
from 0 – 10
8
