- ページ 4
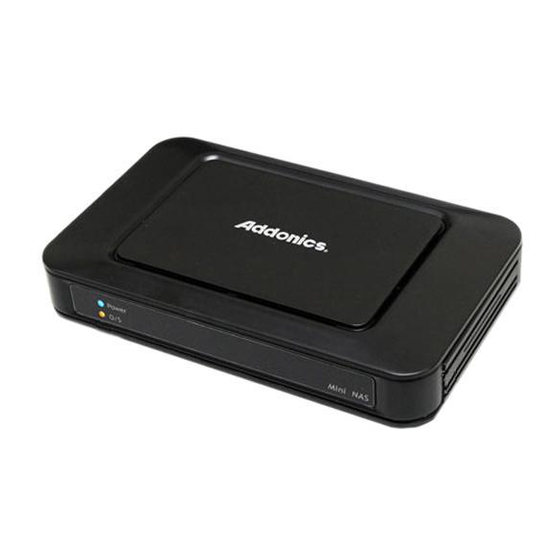
エンクロージャー Addonics Technologies NAS25HDU2のPDF ユーザーマニュアルをオンラインで閲覧またはダウンロードできます。Addonics Technologies NAS25HDU2 13 ページ。 Mini nas
Addonics Technologies NAS25HDU2 にも: ユーザーマニュアル (8 ページ), クイック・インストール・マニュアル (4 ページ)

Disk Utility
In this page, you can manage hard disk settings of the USB storage device.
Format: For first time installation, you need to format hard disk into FAT32
file system. Formatting the drive will erase all data on the hard drive.
Warning: For hard drives with data on it, create a backup before
proceeding to format the hard drive!
Tip: You can transfer back the backup data to the NAS Public folder for
sharing via the network or USB connection of the USB Storage device.
Sleep Time: This is to select hard disk sleeping mode.
Scan Disk: After the scan, it will show file content information and health
status for the hard disk.
Maintenance
This page allows you to update the Mini NAS firmware, to go back to factory
default settings or reboot NAS system.
Firmware update: Follow the steps below to update the loader and firmware
for Mini NAS.
1.
Download the latest firmware.
2.
Store the firmware file on your computer and decompress them if
necessary.
3.
Browse your system and locate the firmware (BIN file).
4.
Click on "Update".
5.
Confirm the pop-up massage to start the update.
6.
Wait and DO NOT click anywhere else or turn off the power. The
upgrade might take a few minutes.
7.
Once the update is done, it will prompt you to reboot the device.
8.
Click on "Reboot" to restart the device.
9.
Wait for about one minute and then go to the status page to confirm the
update was successful.
Factory defaults: If you experience problems after a firmware update, it is
recommended to reset all settings.
Note: Resetting the device will remove all folder from the sharing list, erase
the FTP accounts, and reset all other settings! Please do not power off or
disconnect Mini NAS connection during the firmware update process.
System reboot: This can be used to restart the network drive after a
firmware update.
Samba Server
Samba server allows you to share data or files through the network LAN. When a
USB storage device is connected, a default Public folder is available to be shared
among Guest users. A default Guest user is also created.
Note: Only use English alphabet for folder names and no special characters
when creating new folders.
