- ページ 9
スイッチ 4B M800 Elite SeriesのPDF 操作マニュアルをオンラインで閲覧またはダウンロードできます。4B M800 Elite Series 12 ページ。 Speed switch

Line
5A Fuse
Stop
Start
Neutral
Fig. 4
Target
3/4" Dia.
(19 mm)
Shaft
3/8" Min.
(10 mm)
I NITIAL SENSOR CALIBRATION -
1. Check that the M800 Elite is correctly installed (see standard wiring diagram).
2. Check that the distance between target, stud or bolt head and sensing face of unit is within the
minimum distance specified.
3. With the belt tight and without introducing any product into the machine, start up machine. Allow
machine time to attain normal running speed. The red input LED should be blinking, if not see fault
table at the bottom of the page.
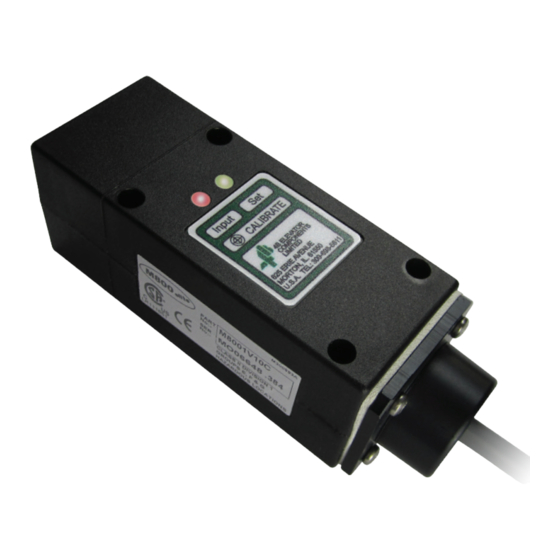
4. Place the magnet (supplied with unit) on "CALIBRATE" point located on the top side of the sensor.
Each flash of the green LED represents one second for the start-up delay. Remove the magnet
when the required start up delay has been achieved.
5. The green set LED will flash to 'echo' back the set time and will automatically calibrate the alarm and
shutdown speeds. When the calibration is complete, the green set LED should be on steady and the
red input LED should be flashing.
SENSOR RECALIBRATION -
If the M800 Elite is to be used at a different machine speed or with a slower/longer time delay than
previously calibrated, the unit may trip out before it can be calibrated. This can be avoided by applying
power while holding the magnet on the "CALIBRATE" point and removing the magnet only when the
machine has reached normal speed. Wait for the green LED to illuminate permanently and then
recalibrate using steps 1 - 5 in the "INITIAL SENSOR CALIBRATION" procedure above.
Figure 3 - Typical Connections Shutdown and No Alarm
Orange
Shutdown
Yellow
C
9 mm Max. (Ferrous Target)
6 mm Max. (Non-Ferrous Target)
SENSOR CALIBRATION
Brown
Alarm
Blue
Relay
Pink +
Relay
White -
CALIBRATE Point Symbol
PAGE 9
NOTE -
Alarm and Shutdown
Contacts Shown
in Normal Running
Position
