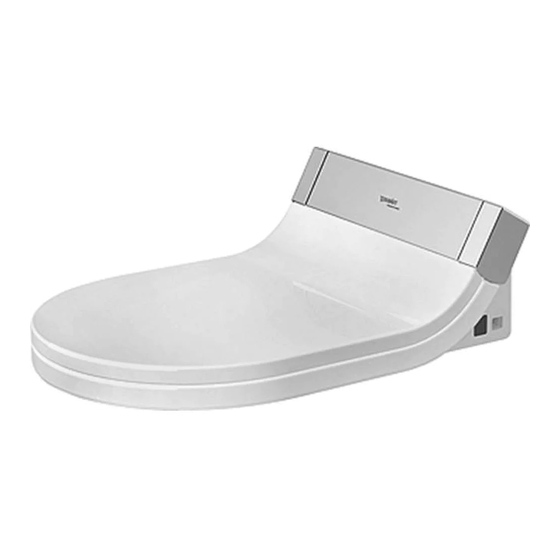
- ページ 4
配管製品 DURAVIT SensoWash StarckのPDF 取付方法をオンラインで閲覧またはダウンロードできます。DURAVIT SensoWash Starck 20 ページ。 Shower toilet unit

Important information
About the mounting instructions
These mounting instructions come as part of the
Duravit Shower WC and should be read carefully prior to
installation.
Explanation of the key words and symbols
DAngEr!
At high risk of fatal hazards or
serious injuries
nOTE!
To avoid property damage
Link to the Electrical Installation section
Link to the installation information in this section
Link to the Water Installation section
Target readership and Qualifications
The Shower WC and associated water connection may only
be installed by qualified plumbers. The electrical installa-
tion may only be carried out by qualified electricians.
nOTE!
Local installation regulations, country-specific standards
and the low voltage directives must be observed at all
times.
nOTE!
DO NOT not install the Shower WC in rooms where there is
a danger of frost. The room temperature must not be less
than 39°F (4 °C).
nOTE!
Condensation may form when the Shower WC unit is
brought from a cold location to a warm one.
> Leave the unit switched off for a few hours.
Safety instructions
DAngEr!
risk of fatal electric shock.
> Do NOT remove individual Shower WC components.
4
Installation Instructions
Please read pre-installation data sheets prior to the
installation. These are available to download on the
Internet at www.duravit.com.
1
Checking the installation requirements (Diagram 1)
The installation of the WC ceramics with pre-
installation of the Shower WC water and power
supplies is described in separate instructions.
> Ensure that the supplies and WC ceramics have
been installed and mounted according to the
instructions and regulations.
15
Installing the T-profile (Diagram 15)
> The T-profile is not included in the delivery of
product #610000 00 2 10 0200. Please install an
appropriate standard T-profile.
Positioning the remote control mounting bracket
27
(Diagram 27)
> Continue with step 30 to install the anti-theft
device.
> Follow the instructions up to step 29 to install the
mounting bracket without the anti-theft device.
SensoWash Starck_MAL_US_56936/16.08.2
