- ページ 5
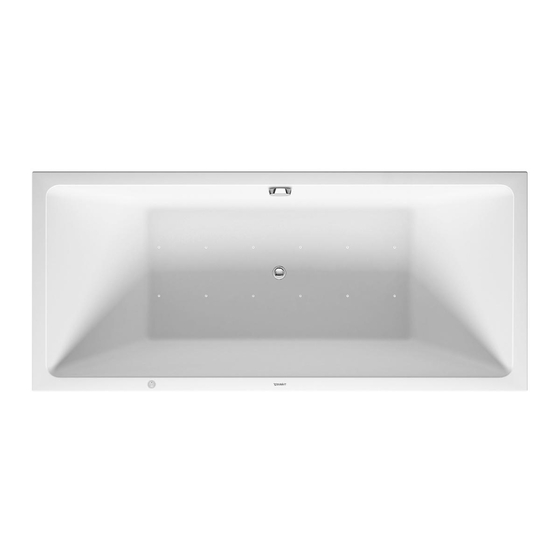
配管製品 DURAVIT Vero Air 760418のPDF 取付方法をオンラインで閲覧またはダウンロードできます。DURAVIT Vero Air 760418 13 ページ。 Acrylic whirltub, freestanding

Important information
Intended use
The mounting instructions come as part of the Duravit
whirltub and must be read carefully prior to installation.
target readership and qualifications
The whirltub must only be installed by trained plumbing
engineers. The electrical installation should only be carried
out by qualified electricians.
Explanation of the key words and symbols
Is used to address practices not related
NotIcE
to physical injury.
Link to the Electrical installation section
Link to the mounting instructions in this section
Inspection (e.g. for scratches)
Indication of the length of time (e.g. 10 minutes)
Inspect to check for leaks and leak-tightness
Indication of the temperature
Do not kink hose
Control unit
(Number depends on the whirl system)
>
Action required
6
WH_M_Vero Air_FST/17.01.1
Safety instructions
Risk of fatal electric shock
> Do NOT remove any whirltub components.
Product and/or property damage
The breach of local and country-specific regulations
and standards can cause damage to the product and/or
property damage.
> Observe the local installation regulations and any
country-specific standards at all times.
Seitenansicht
A pipe interrupter is absolutely essential for baths with a
base inlet.
> Comply with assembly scheme.
Mounting instructions
Please read pre-installation information sheets prior to
Technische Verbesserungen und optische VerŠnderungen an den abgebildeten Produkten behalten wir uns vor.
the installation. These are available to download on the
We reserve the right to make technical improvements and enhance the appearance of the products shown.
Datum
Name
Ma§stab
Artikel-Nr.
Date
Scale
Model-No.
Internet at www.duravit.com.
Gezeichnet
Name
08.10.13
1:20
Allgaier
Drafted
GeprŸft
Bezeichnung
08.10.13
WLT
1:10
X
Certified
Description
GeŠndert
1:5
Modified
4
tipping the whirltub
> When tipping the whirltub ensure that the edge is
not damaged.
> To protect the whirltub insert cardboard below.
16
check whirl system
> Switch on the whirl system for 10 minutes:
run this through once completely in the case of
circuits with different levels of intensity.
> Leave the water in the bathtub and wait 10
minutes.
> Check to make sure that it is leak-tight.
> If adjustments are required, repeat the check.
Lateral view
Zeichnung
000000
# W-T-
000000 - 00 - 0
Drawing
Schematische Zeichnung mit Rohrunterbrecher
Spezial Ab-und †berlaufgarnitur mit Bodenzulauf
fŸr Badewanne
Special waste and overflow with base inlet
for bathtubs
