- ページ 5
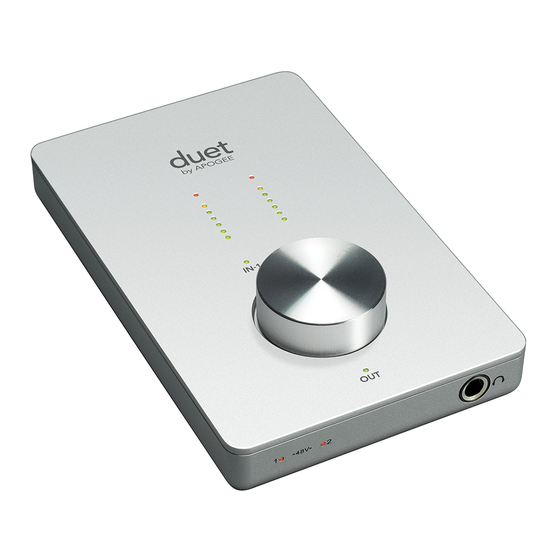
アクセサリー Apogee Apogee DuetのPDF ユーザーマニュアルをオンラインで閲覧またはダウンロードできます。Apogee Apogee Duet 17 ページ。 Apogee duet audio interface: users guide
Apogee Apogee Duet にも: 補足マニュアル (1 ページ)

Duet – User's Guide
Quick Start Guide
6
Quick Start Guide
Using Duet with GarageBand
5
4.0.0 or greater recommended
In GarageBand, choose GarageBand >
Preferences, click on the Audio/Midi icon
and set Audio Output and Audio Input
to Duet.
Click on the Advanced icon and set Audio
Resolution to Better or Best.
Choose Track > New Basic Track...
Double click the new track's header to
view the Track Info pane; in this pane,
set Input Source to Mono 1 (Duet); set
Monitor to On.
To open GarageBand's Apogee Duet
control panel, click on the Edit button
next to the Input Source pop-up menu.
Connect the provided breakout
cable to Duet's I/O connection, and
connect a mic to the
IN-1 XLR
connector.
Click the center of the
top panel encoder until
the IN-1 LED lights,
then turn the encoder to
obtain a proper recording
level on the record-
enabled track.
You're now ready to record!
Quick Start Guide
Duet – User's Guide
Using Duet with Logic Pro
6
7.2.3 or greater recommended
Open Audio > Audio Hardware and
Drivers > Drivers > CoreAudio and
check the Enabled box. Click "OK" when
prompted by Logic.
Select Duet in the Driver field, set the
I/O Buffer Size to 128 and click Try
(Re)–Launch when prompted by Logic.
To "customize" the I/O routing labels in
Logic to match Duet hardware I/O, open
Audio > Audio Configuration; under the
View menu, select I/O Labels; under the
Driver's I/O Label column, Option–click
the first radio button of each group of I/O
labels.
To control Duet directly from your Logic
session, open Audio > Apogee Control
Panel.
If you're using another CoreAudio-
compatible audio software app, use
Apogee's Maestro software (installed
in your Applications folder in Step 1) to
control Duet.
Quick Start Guide
7
