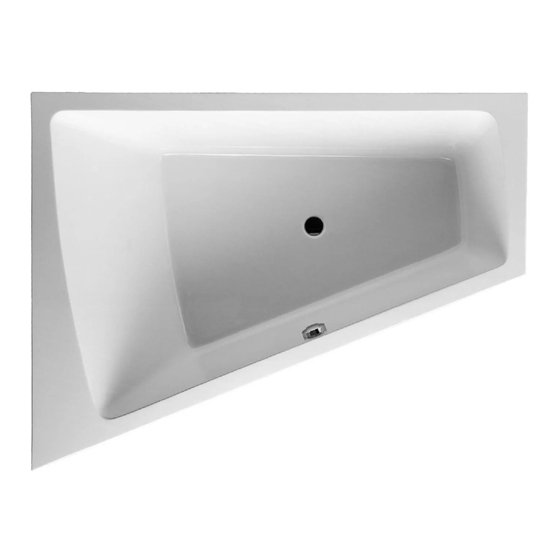
- ページ 4
バスタブ DURAVIT 700217のPDF 取付方法をオンラインで閲覧またはダウンロードできます。DURAVIT 700217 12 ページ。 Bathtubs built-in
DURAVIT 700217 にも: 取付方法 (9 ページ)

de
Montage
1
Vor der Installation Wanne auf mögliche Schäden prüfen.
2
Den Schraubfuß wie gezeigt vormontieren.
3
Den Schraubfuß durch das Langloch des Rahmens stecken.
4
Die obere Mutter aufdrehen.
5
Das Langloch ermöglicht ein seitliches Verstellen des Schraubfußes
um bis zu 140 mm.
6
Kartonage als Schutz unterlegen. Wanne auf den Kopf stellen.
7
Fußleisten auf der Wannenunterseite gemäß Abbildung ausrichten.
8
Füße an der Wanne festschrauben.
9
Ab-/Überlaufgarnitur montieren.
10 Wanne auf die Füße stellen.
11 Gewünschte Wannenhöhe durch Ausrichten der Wannenfüße
ermitteln.
12 Wannenfüße einstellen bis der Wannenrand horizontal ausgerichtet
ist.
13 Kontermutter anziehen.
14 Zur Installation der Wannenanker die Oberkante der Wanne an der
Wand anzeichnen.
15 Position der Wannenankerlöcher anzeichnen.
16 Die 3 Löcher bohren.
4
BA_M_Paiova_Einbau / 05.10.2
en
Mounting
Before installing please check your bathtub for damage (caused during
transport).
Assemble the foot as shown.
Insert the foot through the slot of the support frame.
Attach the upper nut.
The slot allows the position of the foot to be adjusted to the sides by up
to 140 mm.
Turn the bathtub carefully upside down onto cardboard making sure not
to scratch the surface.
Position the support frame onto the bathtub base according to the
picture.
Screw the frame to the bathtub with the screws provided.
Attach the outlet and overflow to the bathtub.
Place the bathtub on its feet.
Find optimum height for the bathtub by unscrewing feet to the same
height.
Adjust the feet accordingly to make sure that the bathtub is level.
Tighten the locknut.
Mark the upper edge of the bathtub on the wall for the wall brackets.
Mark the holes for the brackets.
Drill the 3 holes.
