- ページ 11
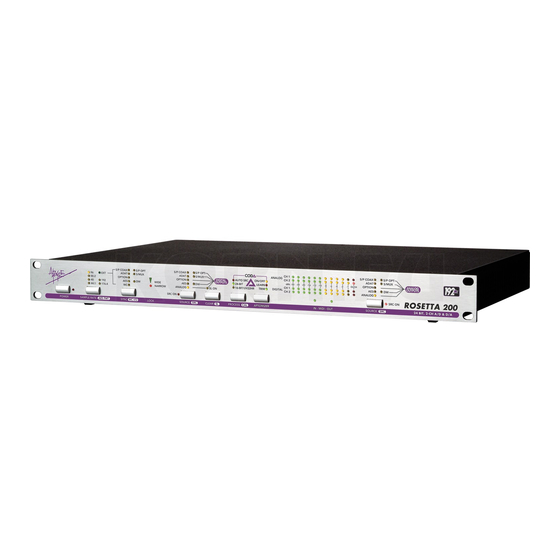
メディア・コンバーター Apogee Rosetta 200のPDF ユーザーマニュアルをオンラインで閲覧またはダウンロードできます。Apogee Rosetta 200 20 ページ。 2-channel 24 bit, 192 khz, ad/da converter
Apogee Rosetta 200 にも: データシート (2 ページ), ホワイトペーパー (2 ページ)

ROSETTA 200 – User's Guide
Getting Started Quickly
1
USING THIS MANUAL
In this manual, "parameters" are defined as the characteristics of operation, such as
CLOCK SOURCE or AES format, and are capitalized in this manner : CLOCK SOURCE.
"Values" are defined as the choices available for each parameter – for example, the parameter CLOCK SOURCE has
the values INTernal,WC and INPUT Values are italicized in this manner: S/PDIF.
"Settings" are defined as the entire set of parameters and values.
When physical controls such as buttons or switches are referred to in the text,
they are highlighted in this manner: DOWN.
CONNECTING POWER
The Rosetta 200 accepts an AC input of 90 to 264 volts AC at a frequency of 47 to 440 hz. Thus, the unit may be
connected to virtually any AC power outlet found worldwide without concern for voltage settings or fuse ratings.
RESET
To reset the Rosetta 200, power up the unit while holding down the SAMPLE RATE button. This provides a quick
method to return to factory default settings (including CAL levels).
QUICKSTART
To quickly get started using the Rosetta 200, please follow these steps:
1)
Connect the AC input and press the POWER button.
2)
On the rear panel, connect an analog signal source to the Analog Inputs, connect a digital device to the
appropriate digital I/O (ADAT is used in this example), and connect the Analog Outputs to a monitoring
system.
3)
Set SAMPLE RATE to 44.1.
4)
Set the SOURCE (to Digital Outputs) to Analog.
5)
Set the SOURCE (to Analog Outputs) to ADAT.
3
4
3
APOGEE ELECTRONICS
5
