- ページ 12
エンクロージャー Apollo Enclosures AE6560のPDF インストレーション・マニュアルをオンラインで閲覧またはダウンロードできます。Apollo Enclosures AE6560 16 ページ。 Environmental tv enclosures (with tv swing brackets) mastering the outdoor tv viewing experience from the inside out

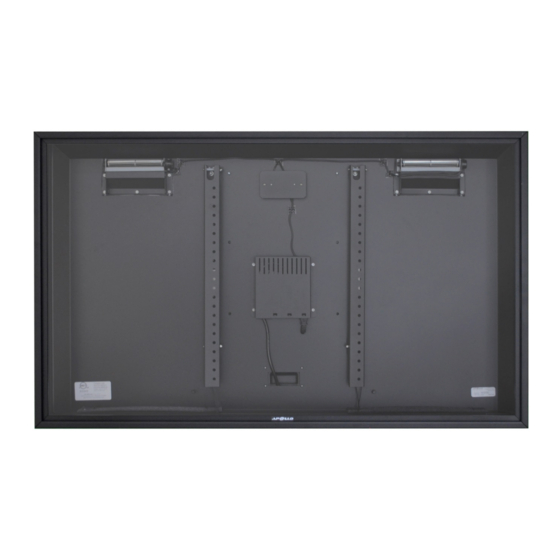
4. Attaching Mount Brackets to Rear of Back Panel
a. Use the four (4) holes for models 43", 50", 55" & 65" and (6) holes for models 75" & 86" with
threaded inserts in the back panel to attach the two (2) vertical mount brackets, included with the
wall mount. Use the following hardware provided with enclosure making sure to insert the hole
plugs in the unused holes.
b. Using hole plugs provided, insert with cone shape facing
4.1
55" and 60"-65" TVs with Low VESA Patterns -
Rear of Back Panel
IG1902 43-86 Swing A
Copyright 2019 Apollo Enclosures LLC. All rights reserved
(4) or (6) – Metric M6 X 20 screws
(4) or (6) – Stainless Steel washers
(4) or (6) - O-ring Rubber Washers
(4) or (6) – Rubber hole plugs
a. Remove 10 -24 lock nuts (2 places). They are not used with low VESA
pattern set up. Attach the TV vertical mount brackets (as shown in
step 3.1 above)
b. Insert the M6 metric screws and washers through the external TV
mount bracket.
c. Line the M6 metric screw and external TV mount bracket through the
top VESA mounting hole in back panel using the top threaded PEM
inserts in the internal TV mount brackets.
d. Once both brackets are situated, screw the bottom screws in place
and tighten all 4 screws to obtain a secured and sealed fit.
Page 12
IMPORTANT!
BE SURE THE O-RING RUBBER
WASHER IS PLACED BETWEEN THE
BACK OF THE ENCLOSURE AND THE
STAINLESS-STEEL WASHER TO
PREVENT WATER INTRUSION.
Attaching Mounting Brackets to Inside and
out.
