- ページ 5
インターホン・システム AddSecure Edge VS5051のPDF ユーザーマニュアルをオンラインで閲覧またはダウンロードできます。AddSecure Edge VS5051 10 ページ。 Connect intercom
AddSecure Edge VS5051 にも: ユーザーマニュアル (14 ページ)

6
Installing the terminal
6.1 Mounting the terminal
6.2 Connecting power
6.3 Connecting backup batteries
6.4 Connecting the terminal
6.5 Powering up the terminal
7
Activating the terminal
PDK-15088-v.2.0 Connect Intercom User Manual.docx
The Edge VS5010 is not supplied with an enclosure, so the PCBA must first
of all be installed in a suitable enclosure.
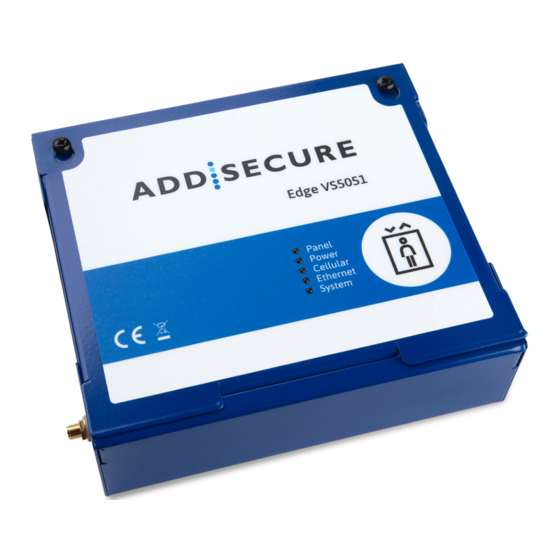
The Edge VS5051 comes pre-installed in an enclosure.
The enclosure containing the terminal should be positioned close to the
intercom box and where there is a good cellular connection.
Power to the terminal must be provided from a power supply providing
10.5 to 28V DC with a recommended 2A current. The power supply must be
able to be connected to the terminal PCBA using the screw terminals.
The terminal can be powered from RCO intercom panels.
Addsecure can supply a suitable power supply as an accessory if required,
contact AddSecure for details.
IMPORTANT: You can connect the power supply but DO NOT APPLY
POWER TO THE TERMINAL NOW. This you will do later.
Connect the internal battery to the PCBA battery connector, see item 22 in
chapter 5, "Board Configuration".
Note: Only use battery packs provided by AddSecure.
Connect the cables from the intercom to the Dial Capture ports, see item 21
in chapter 5 "Board Configuration".
The terminal is now installed, so the power supply can now be connected.
Switch the power on and check that the indicator "SYS LED" is flashing (top
green LED on PCBA). If it does not, you need to contact AddSecure.
The terminal can only be activated by using the Activator Service app Follow
this procedure to download the Activator Service app and activate the
terminal:
page 5
