- ページ 5
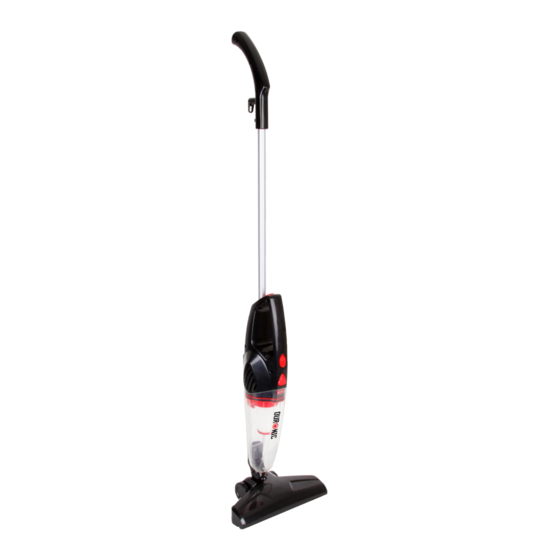
掃除機 Duronic VC8のPDF マニュアルをオンラインで閲覧またはダウンロードできます。Duronic VC8 19 ページ。 Vc8 - bagless vacuum cleaner

Assembling
INSERTING THE METAL HANDLE INTO THE MAIN BODY
• On the hand vacuum cleaner handle, pull open the handle port and insert the
extension tube until the locking clip is sitting firmly on the handle.
• Push the handle port closed so that it snaps shut.
ATTACHING THE CREVICE TOOL & FLOOR BRUSH TO THE MAIN BODY
Push the crevice tool or floor brush into the suction hole opening.
The following are recommendations for accessory usage:
Crevice Tool: For radiators, crevices, corners, and between cushions.
Floor Brush: For all kinds of flooring, including carpeted and tiled floors.
Operating Instructions
Caution: The suction hole must be open and free of any obstruction at all
times. Otherwise, the motor will overheat and damage the unit.
Power Switch
• Push the power button to switch the unit on.
• Push again to turn the unit off.
USING THE VC8 AS A HAND VACUUM
• Disconnect the extension tube from the hand vacuum by using the handle
release button and pulling the extension tube out. Once the extension tube is
removed, slide the handle port shut.
Power
Switch
8
USING THE VC8 IN AN UPRIGHT POSITION
• Insert the extension tube into the hand vacuum.
• Choose the appropriate accessory (crevice tool or floor brush) and attach it to
the suction hole on the hand vacuum.
Note: You may choose not to attach the crevice tool or floor brush when
operating it in an upright position.
• Press the power switch to turn the unit on. When finished using the unit,
press on the power switch again to turn the unit off.
• When you have finished using the vacuum, wind the power cord around the
cable management hooks for easy storage.
Cleaning & Maintanence
In order to achieve the best performance, empty the dust cup container and
clean the dust cup filter after each use.
1. To remove the dust cup container, press down on the dust cup container
release button and separate the dust cup container from the main unit.
2. Pull out the dust cup filter.
3. Empty the dust from the dust cup container.
4. Rinse the dust cup filter in cold water, and then let it dry for 24 hours before
replacing it back in the dust cup container. Make sure that ALL filters are
completely dry before re-installing back into the vacuum cleaner.
Note: Do not use a washing machine to clean the dust cup filter. Do not use a
hair dryer to dry it. Leave it out to dry. Replace the dust cup filter carefully into
the dust cup compartment. Never operate without the dust cup filter in place.
Note: The Dust cup filter is washable. However, it should be replaced every 3
months to ensure peak performance of your vacuum.
9
