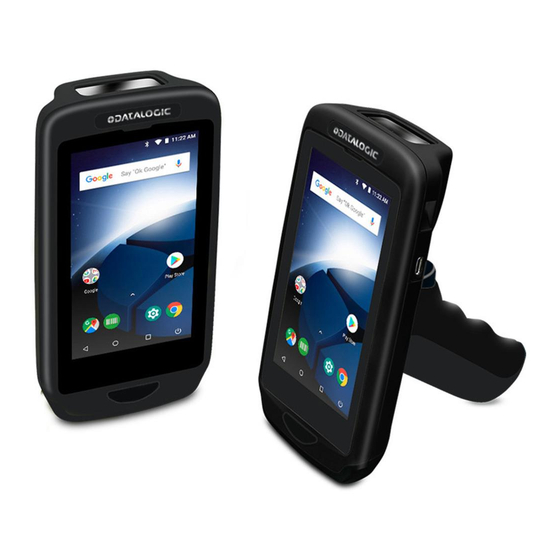
- ページ 2
PDA Datalogic Memor 1のPDF クイック・スタート・マニュアルをオンラインで閲覧またはダウンロードできます。Datalogic Memor 1 2 ページ。 Single slot dock locking
Datalogic Memor 1 にも: クイック・スタート・マニュアル (2 ページ), クイック・スタート・マニュアル (2 ページ)

Charging Instructions
The Memor 1 is provided with the battery pack already installed and configured in Ship Mode at the
factory. To wake the device from Ship Mode, connect it to a power supply or insert it into a dock (for
more information, see the Getting Started section of the Memor 1 User's Manual).
The battery pack is initially not fully charged. Before using the device, charge the battery with the
single slot dock locking, the single slot dock charge only, the 3-slot cradle or the Datalogic micro-USB
power supply.
Charge with the Single Slot Dock Locking
First plug the power cord into the power connector on the back of the dock, then connect the power
cord to the power supply.
2
1 1
Use only the Datalogic power supply 91ACC0048 to power the Memor 1 Single Slot Dock
Locking.
The Single Slot Dock Locking cannot be daisy-chained to a Memor 1 3-Slot Cradle.
CAUTION
Insert the device into the dock with the screen facing front and the head facing down.
For further information on the Memor 1 Single Slot Dock Locking, refer to the Single Slot Dock
Locking Quick Start Guide, included in the dock's box.
NOTE
Charge with the Single Slot Dock Charge Only
First plug the power supply into the power jack on the back of the dock, then plug the power supply
into a power outlet.
2 2
1
1
Use only the Datalogic power supply included in the box to power the Memor 1 Single Slot
Dock Charge Only.
CAUTION
Insert the device into the dock with the screen facing front and the head facing down.
NOTE
Charge with the 3-Slot Cradle
There are two options to connect the cradle to the power supply: fast charge and standard charge.
Fast Charge
The fast charge connection allows to power one cradle with one power supply.
Plug the power supply cable into the power connector on the back of the cradle, then plug the power
supply into the AC/DC plug using a Datalogic power cable. Please see below an example of how to
insert the power supply cable through the wall mounting metal bracket:
High Visibility
Standard Charge
The standard charge connection allows to power two cradles with one power supply.
To connect a second cradle use the Memor 1 Cradle Power Jumper, available as optional accessory (P/
N 91ACC0049).
1. Connect the first cradle to the second cradle using the power jumper.
2. Connect the power supply to the first cradle.
3. Plug the power supply into the AC/DC plug using a Datalogic power cable.
Use only the Datalogic power supply 91ACC0048 to power the Memor 1 3-Slot Cradle.
CAUTION
Insert the device into the dock with the screen facing front and the head facing down.
Under the same conditions, the fast charge connection can charge the battery up to twice as
fast as the standard charge connection.
NOTE
For further information on the Memor 1 3-Slot Cradle, refer to the Memor 1 3-Slot Cradle
Quick Start Guide, included in the cradle's box, and to the Memor 1 3-Slot Cradle Installation
Guide, downloadable from our website www.datalogic.com.
Do not put any foreign object such as, but not limited to, coins, paper clips, stickers inside the
slot of any of the docks.
Do not apply any sticker to the Memor 1 (see the examples below).
CAUTION
Charge with USB
Use the Datalogic micro-USB power supply (p/n 94ACC1380) to charge the terminal from a power
outlet.
The Memor 1 gets warm during charging. This is normal and does not mean a malfunction.
NOTE
High Density
2
1 1
Scanning and Imaging
Imager Data Capture
L
B
2D M
S
INEAR
ARCODE
ATRIX
YMBOL
Relative Size and Location of Aiming System Pattern
