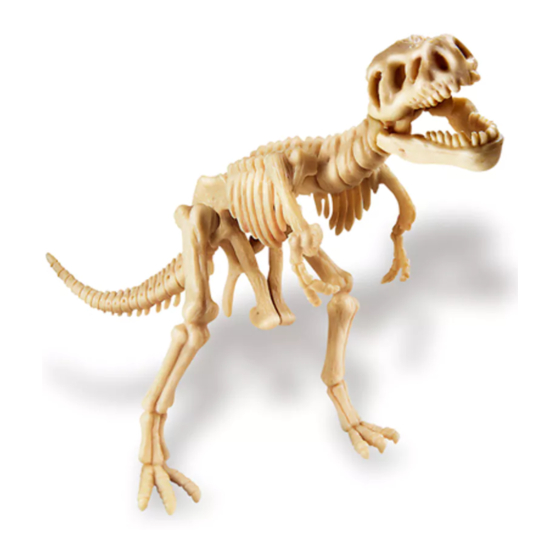
おもちゃ 4M KIDZ LABS DINOSAUR SKELETON EXCAVATION KITのPDF クイック・スタート・マニュアルをオンラインで閲覧またはダウンロードできます。4M KIDZ LABS DINOSAUR SKELETON EXCAVATION KIT 2 ページ。

DINOSAUR SKELETON EXCAVATION KIT
A. SAFETY MESSAGES
1. Please read through these instructions before you start.
2. Adult assistance and supervision are required.
3. The dug out plaster dust may irritate the eyes, nose and throat. Handle with care. Adult supervision is required. Do
not place the material in the mouth or apply it to the body. Avoid contact with the eyes and inhalation of dust. In case
of eyes contact, flush with water and consult your physician if discomfort persists. During the digging process, peri-
odically remove the dust with the brush. Do not blow them over. Use a water spray bottle to dampen the dust as this
will cause them to cling on the work surface. (Attention: wet plaster may stain. Wear an apron or working clothes.)
Protective goggle or face mask may be worn for further protection during digging.
4. This kit is intended for children aged over 8.
5. This kit and its finished product contain small parts which may cause choking if misused. Keep away from children
under 3 years old.
B. REMARKS
1. Always work on a solid, level surface. We recommend that you cover the work surface with newspaper to protect the
working surface and aid in clean-up.
2. Wear a smock or old clothes. Plaster may stain some clothing. Use laundry detergent on soiled clothing and wash
separately.
3. Dispose of plaster in the trash. Do not put the plaster powder down the sink of bathtub drains as this may result in a
clog.
Note: The kit is intended for kids to imitate a paleontologist digging for fossils. The digging process has to be done
with patience like real paleontologist. The whole process may take a few hours or days to complete. That is the es-
sence of the digging fun. If you would like to quicken the digging process, you may spray some water on it or even
submerge the whole block into a sink of water for a minute before digging. This will soften the plaster. However, this
may undermine the "digging fun" intended. Also be aware that wet plaster may stain.
C. CONTENTS
1 plaster block with dinosaur skeleton embedded, 1 soft wax for positioning the joints, 1 specially designed digging tool,
1 brush, 1 prehistoric scene backdrop with fun facts printed.
D. INSTRUCTIONS
1. Gently scrape away the plaster with the flat side of the digging tool. When your dinosaur skeleton begins to emerge,
dig with care!
2. Use the brush to dust off the remaining plaster from the dino skeleton.
3. Any remaining dust can be wiped off with a damp cloth. Use the tip of the brush to clean the remaining plaster inside
the slots for easy assembly.
4. When you have found all parts of the dinosaur, follow the Assembly Instruction to assemble the whole model.
5. You may use the soft wax included to secure the joints' positions. Place the wax at your palm for a while your body
warmth will soften the wax. Fill the joint space with a small piece of softened wax before you assemble the skel-
etons. The wax will harden again when it is cooled and will hold the skeleton in position. You may reposition the
skeletons whenever you want by using the wax.
6. Construct your cardboard backdrop. Firstly fold up the base along the folded line. Then insert the cardboard back to
the slot of the base. The cardboard structure can be strengthened by using the soft wax provided or adhesive tape
from your home. Pose your dinosaur. Position it onto the display by using the soft wax again. It makes a cool room
decor.
