Clear Channel Buffer (from Version 4)
This feature is not new in Version 5, but is re-documented here as one of the 'special' functions that can be executed
during normal operation. And it is very, very useful.
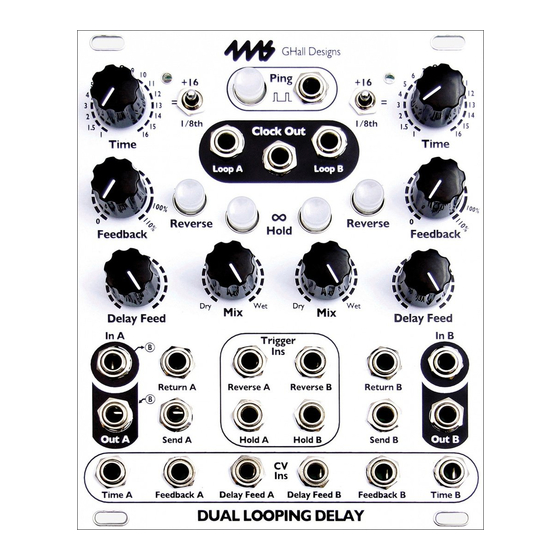
To delete the contents of audio memory for either channel, just hold down the Reverse and Inf Hold buttons of that
channel for about 3 seconds. Both lights will flash to indicate successful clearing of memory. The other channel will
not be affected.
New System Settings
In Version 5, the application of the System Settings mode has been extended to address requests from users and new
possibilities that we became aware of in course of development. Also, the operation of the System Setting mode itself
has been smoothed and enhanced for greater ease of use
In entering, and using the System Settings mode, the position of the channel toggle switches (upper left and upper
right) determines what happens. With that in mind, the function available in System Settings are here organized into
groups according to the position of these two switches.
Many of the System Settings functions are inherited from Version 4. These are included here for completeness (and,
maybe, to make it easier to get your head around these various operations)
Entering System Settings Mode
To prepare to enter the System Settings mode, flip both of the channel toggle switches to the up position. Then hold
down all 5 of the lighted pushbuttons (yes, it's a little bit awkward) for about 2 seconds and release.
On entering System Settings mode, the 4 lower button lights indicate the firmware version in binary code (lsb first).
For Version 5, this means that the Reverse A and Inf Hold B lights are lit.
