- ページ 2
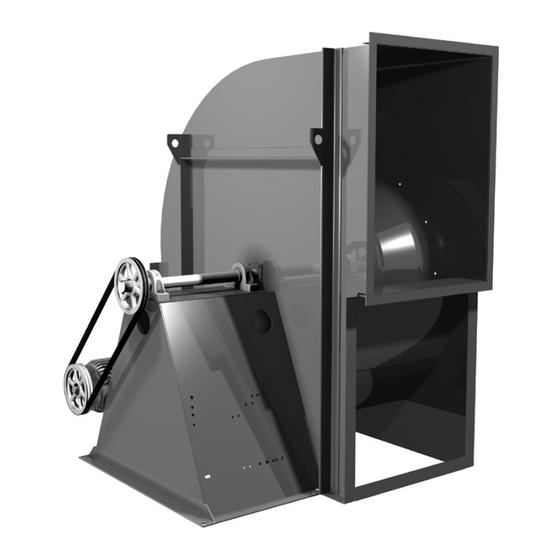
送風機 COOK CAF-DWDIのPDF インストレーション、オペレーション、メンテナンスマニュアルをオンラインで閲覧またはダウンロードできます。COOK CAF-DWDI 12 ページ。 Centrifugal blower
Storage
If the fan is stored for any length of time prior to installa-
tion, completely fill the bearings with grease or moisture-
inhibiting oil (refer to Lubrication, pages 6–7). Rotate the
wheel several revolutions every three to five days to keep
a coating of grease on all internal bearing parts.
Store the fan in its original crate and protect it from dust,
debris and weather.
Outdoor Storage
To maintain good working condition of the fan when it is
stored outdoors, follow the additional instructions below.
• Coat the shaft with grease or a rust preventative
compound
• Wrap bearings for weather protection
• Cover the inlet and outlet to prevent the accumulation of
dirt and moisture in the housing
• Periodically rotate the wheel and operate dampers (if
supplied)
• Periodically inspect the unit to prevent damaging
conditions
Installation
Motor Installation
Most motors are shipped mounted on the fans with
belts and drives installed. However, extremely heavy mo-
tors and drives are shipped separately. These motors and
drives will require field installation.
Foundation
This fan requires a strong, level foundation of reinforced
poured concrete. A correctly designed concrete founda-
tion provides the best means for mounting floor units. The
foundation's size is determined by fan size and arrange-
ment, motor size and position and the specific location of
the installation.
Use the following guidelines to calculate foundation size.
• The overall dimensions of the foundation should extend
at least six inches beyond the outline of the fan and its
motor
• The weight of the foundation should be two to three
times the weight of the unit and its motor
Isolation
NOTICE! Although a certain amount of vibration is
inherent in operating centrifugal fans, extreme vi-
bration is a serious problem that may cause struc-
tural and mechanical failure.
Isolation Base
To prevent vibration and noise from being transferred to
the building isolators are recommended. Arrangement 1, 2
and 3 (CA or CF) fans require an isolation base to effec-
tively isolate the fan system which includes the fan, base,
motor, drive, guards, etc. Bases must have sufficient ri-
gidity to resist belt pull and prevent drive distortion which
can lead to excessive belt and bearing wear; its perim-
eter should contain all base angles and rotating parts. Ar-
rangement 9 or 10 fans (CA, CF and CP) above size 270
require isolation rails. Please consult factory for isolation
of arrangement 9 fans due to the potential of uneven load-
ing caused by the motors and drives. Isolators should be
located between the fan system and the support structure.
CA/CF/CP IO&M
Ceiling Mounted Spring and Rubber-in-Shear (RIS)
Isolators
NOTICE! Under no circumstance is the fan to be
mounted inverted and hung by its base angles.
1. Mount fan on isolation base or rails.
2. Elevate fan to operating height and brace.
3. Attach threaded rod to overhead support structure di-
rectly above each mounting hole. Rod should extend
to within a few feet of fan.
4. Attach isolator to end of threaded rod using a nut on
each side of isolator bracket.
5. Insert another section of threaded rod through the fan
mounting hole and isolator.
6. Attach two nuts to threaded rod isolator.
7.
Place adjusting nut and locking nut on threaded rod
near fan mounting bracket.
8. Alternately rotate adjusting nut at each mounting loca-
tion until the fan weight is uniformly transferred to the
isolators. Remove bracing.
Ceiling Mounted Spring Isolator
Figure 1- Ceiling Mount Isolators
Floor Mounted Spring Isolators
1. Mount fan and motor on isolation base or rails (if
supplied).
2. Elevate fan (or isolation base/rails) to operating height
and insert blocks to hold in position.
3. Position isolators under the fan (or isolation base/rails)
and vertically align by inserting leveling bolt through
mounting holes in the fan or the base. The isolator
must be installed on a level surface.
4. Adjust the isolators by turning the leveling nut counter
clockwise several turns at a time alternately on each
isolator until the fan weight is transferred onto the iso-
lators and the fan raises uniformly off the blocks. Then
remove the blocks.
5. Turn lock nut onto leveling bolt and secure firmly in
place against the top of the mounting flange or frame.
6. Secure isolators to mounting surface.
Spring Isolator
Figure 2- Floor Mount Isolators
Floor Mounted Rubber-In-Shear (RIS) Isolators
1. Mount fan and motor on isolation base or rails (if
supplied).
2. Elevate fan (or isolation base/rails) to provide room to
insert isolators between the base and foundation and
block in position.
2
Rubber-in-Shear Ceiling Isolator
Rubber-in-Shear Isolator
B51181-002