3.
Getting Started
•
Remove the four screws that hold the cover to the end plates and lift off the
cover.
•
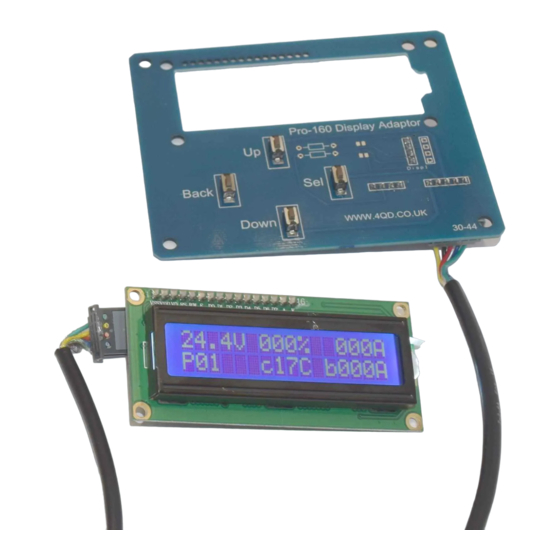
The Pro-360 is supplied with the keypad and / or display cables not
connected to their sockets. These should be plugged in once the Pro-360
has been fixed in position, the control and power connections made, and you
are ready to start operation.
PRO-360 V2.3/4 10/20
Page 3
www.4qd.co.uk