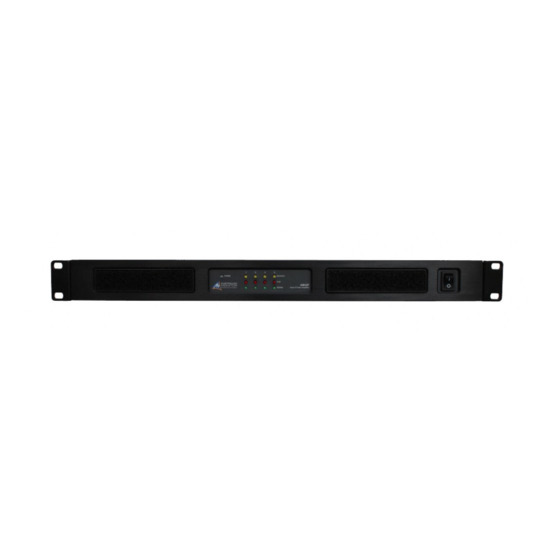
- ページ 8
アンプ AUSTRALIAN MONITOR AM22PのPDF 設置および操作マニュアルをオンラインで閲覧またはダウンロードできます。AUSTRALIAN MONITOR AM22P 17 ページ。 Amp series constant voltage installation audio power amplifiers

INSTALLATION
Power Requirements
Power consumption for your model of the AMP Series amplifier is indicated
on the rear panel for 1/8th output power.
Ensure that your mains voltage is the same as the rear panel mains voltage
marker (+/- 10%).
Mounting
The AMP series amplifiers are one rack units high (1U) and will fit a standard
EIA 19" rack. A rack rear support bracket is supplied and must be installed
when rack mounting the amplifier. The rear support bracket should be installed
to the rack (rear rails) prior to mounting the amplifier. Failure to mount or
support the amplifier correctly may lead to chassis damage which is not
covered by warranty.
Typically amplifiers may be stacked directly on top of each other with no
need for spacing between units, unless installed in high ambient temperature
environments were a single rack unit space between amplifiers will assist
cooling further.
Cooling
Your AMP Series amplifier is cooled by axial fans which draw cool air from the
front of the amplifier and expels the heated air out the rear of the amplifier.
These amplifiers offer variable speed fans which run at half speed up to full
speed when the internal heatsink temperature exceeds 60° C (128° F).
An unrestricted airflow into and out from the amplifier must be provided. Any
restriction of the air flow will cause heat to build up within the unit and possibly
force the unit into its thermal shutdown mode.
If the amplifiers are to be operated in an environment where the airflow is
restricted such as sealed racks, the cooling should be supplemented by extra
cooling fans to evacuate the heated air and aid the flow of cool air through
the unit.
PAGE 8
AMP SERIES CONSTANT VOLTAGE INSTALLATION AUDIO POWER AMPLIFIERS INSTALLATION AND OPERATION MANUAL
Input Wiring
IMPORTANT: Do not directly connect pin 3 on the amplifier's input
to the amplifier's chassis, speaker ground or power ground!
WARNING: Input signal ground is not to be used as a safety
ground (earth).
The input to your amplifier is a balanced 3-pin configuration and requires all
three pins to be connected. Only high quality twin-core shielded cable should
be used.
Pin 1 = HOT (In Phase - non inverting).
Pin 2 = COLD (Reverse Phase - inverting).
Pin 3 = GROUND / SHIELD.
When wiring from an unbalanced source you must ensure that pin 2 is
connected to pin 3 (input ground), either by linking the pins in the input
connector or by the source equipment's output wiring.
When wiring for an unbalanced source:
Pin 1 = HOT (in phase with the amplifier's output)
Pin 2 = GROUND/SHIELD (joins to pin 3).
Pin 3 = GROUND/SHIELD
Output Wiring
When wiring to your speakers always use the largest gauge wire your connector
will accept. The longer the speaker lead, the greater the losses will be, resulting
in reduced power and less damping at the load. We recommend using a heavy
duty, two core flex (four core flex if bi-amping) 10 to 12 gauge (2mm2 to
2.5mm2 or 50/0.25 or equivalent) as a minimum.
Speaker Outputs
Each channel has a 6 pin output screw terminal with a pre-fitted link between
the 4Ohm and high voltage line transformer.
IMPORTANT: Ensure the link is fitted if you are using the 70V or
100V output.
