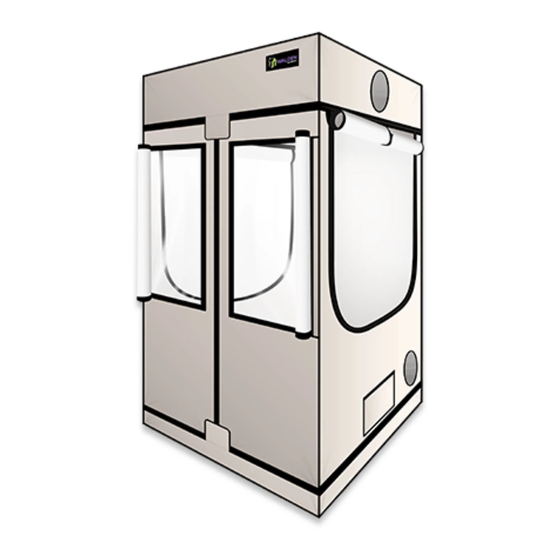
テント Active Grow WaldenのPDF インストレーション・マニュアルをオンラインで閲覧またはダウンロードできます。Active Grow Walden 2 ページ。 Grow tent
Active Grow Walden にも: インストレーション・マニュアル (3 ページ), インストレーション・マニュアル (2 ページ)

Important
• Read all product labels and instructions before assembling and installing the tent.
• Installation does not require any tools. Before assembling the tent, confirm that all pieces needed for
installation have been included in the tent packaging.
• Contact Active Grow directly at [email protected] if any damaged or missing parts are discovered
after opening the tent packaging.
• To avoid tearing or ripping the tent do not use excessive force when covering the frame with the tent
fabric. Any damage to the frame or tent fabric during installation as a result of not following the installation
instructions will void the warranty.
• Do not hang equipment exceeding 110 lbs on any poles.
• Do not use abrasive materials or any substance that can damage the tent fabric when cleaning the tent.
Tent may be cleaned using soap and water or other standard hydroponic sanitizers.
Tent Assembly Instructions
A Poles x5
B Poles x4
C Poles x4
D Poles x5
Corner Connectors x8
1. Before assembling the tent, confirm that all pieces needed for
installation have been included in the tent packaging.
Bx4
3. Slide B Poles x4 into existing Corner Connectors. Make sure tent
poles are seated firmly in Corner Connectors after inserting.
x4
5. Slide Corner Connectors x4 on top of C Poles. Make sure tent
poles are seated firmly in Corner Connectors after inserting.
Walden Tent Installation Guide
Lateral Roof
Support Clamps x2
Medial Roof
Support Clamps x2
Fan/Filter Straps x2
Active Grow LLC, (206) 792-9799, 12345 Lake City NE #2137, Seattle, WA 98125
www.activegrowled.com
Ax2
x4
Dx2
2. Build the bottom of the tent using Corner Connectors x4, A
Poles x2 and D Poles x2. Make sure tent poles are seated firmly in
Corner Connectors after inserting.
Cx4
4. Add another section of vertical poles using C Poles x4. Make
sure the bearings on B Poles align correctly with the holes on C
Poles and snap into place.
Ax2
Dx2
6. Start building the top of the tent using A Poles x2 and D Poles
x2. Make sure the tent poles are seated firmly in Corner
Connectors after inserting.
For use with: AG/24TENT/W
A
D
D
A
A
D
D
A
