- ページ 7
自動車アクセサリー Dymag BOXSTROMのPDF オーナーズマニュアルをオンラインで閲覧またはダウンロードできます。Dymag BOXSTROM 11 ページ。 Carbon hybrid automotive wheels

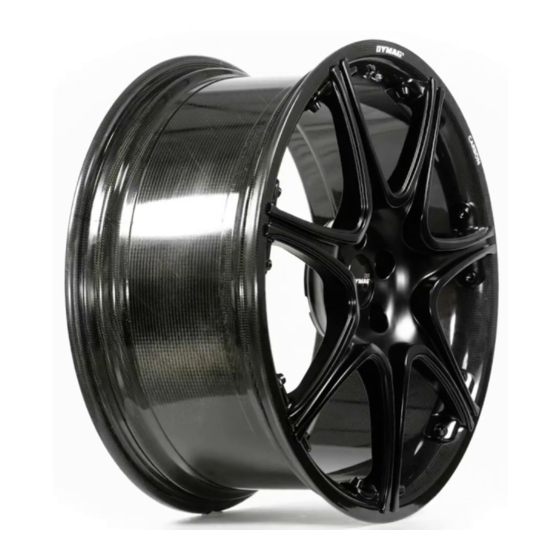
DYMAG® BOXSTROM™
CARBON HYBRID AUTOMOTIVE WHEELS
OWNERS GUIDE
TECHNICAL WHEEL FITMENT GUIDE
Tyres should always be fitted by qualified or trained fitters using the correct equipment,
with experience of fitting premium wheels and tyres.
11. PRE-INSTALLATION CHECKS
11.1.
Studs and mounting surfaces
Clean and inspect all stud threads and mounting surfaces. Threads must not be damaged
and must be free of corrosion, burrs and fractures. Replace any studs that are corroded or
damaged.
WARNING: DO NOT LUBRICATE THREADS UNDER ANY CIRCUMSTANCES
11.2.
Hub Fasteners (lug nuts or lug bolts)
Always use new hub fasteners when installing new wheels. Be certain that the fasteners
are correct for the application. It is critical that the fasteners match the thread diameter,
pitch and seat type; otherwise the installation will be incorrect, which could cause a
dangerous condition.
Types of fastener seats used for different wheel options are:
•
Conical seat - Fastener has a tapered seat engagement into the wheel
•
Flat seat - Fastener has a flat bottomed seat engagement into the wheel
•
Radius seat - fastener has a radius seat engagement into the wheel
The "seat" means the area on the wheel where the fasteners will clamp down.
Thread diameter refers to the diameter of the stud measured at the outer edges of the
threads.
Thread pitch refers to:
•
The number of threads per inch (imperial)
•
The distance between the threads in millimetres
12
Check the thread engagement. Every stud or bolt must be long enough to thread a length
at least equal to the stud or bolt diameter. For example, a 0.5" thread diameter, must
thread into the lug nut at least 0.5". Check for this problem on every stud as lengths may
vary. Less than one stud thread diameter engagement is unsafe and will cause loss of
torque and should not be used under any circumstances.
WARNING: DO NOT INSTALL THE WHEELS IF YOU FIND A PROBLEM. IF IN ANY
DOUBT WHATSOEVER AS TO THE SUITABILITY OF THE FASTENER, CONSULT YOUR
DEALER OR DYMAG DIRECTLY FOR TECHNICAL SUPPORT
11.3.
Maximum Load Rating
The maximum load rating of the wheel has been determined by Dymag and is marked
on the back of the spokes and is also shown in the product literature. Wheel load rating
requirements are determined by dividing the vehicle's gross axle weight rating (G.A.W.R)
by two. The axle weight rating for most vehicles is shown on the identification label
located on the driver's side door jamb, petrol tank door, boot lid or glove compartment.
WARNING: IF SUCH A LOAD RATING IS UNKNOWN OR UNAVAILABLE THE WHEEL
SHOULD NOT BE USED ON THE VEHICLE
WARNING: REGARDLESS OF THE TYRE'S MAXIMUM LOAD RATING, DO NOT EXCEED
THE MAXIMUM LOAD RATING OF THE WHEEL
IF IN ANY DOUBT WHATSOEVER, CONSULT YOUR DEALER OR DYMAG DIRECTLY FOR
TECHNICAL SUPPORT
12. WHEELS FITMENT CHECK
Before mounting the tyres, perform a wheel fitment check at each wheel mounting
location using the following steps:
12.1.
Remove front wheels from vehicle
12.2.
Wire brush the wheel mounting surface and threaded studs on the vehicle
12.3.
If applicable, remove any retaining clips. If not removed, they will prevent the
www.dymag.com
