- ページ 3
ラベルメーカー Dymo LabelWriter 400 Duo GuideのPDF セットアップマニュアルをオンラインで閲覧またはダウンロードできます。Dymo LabelWriter 400 Duo Guide 11 ページ。 Desktop/pc connected labelmaker
Dymo LabelWriter 400 Duo Guide にも: 取扱説明書 (13 ページ), セッティング (8 ページ), パンフレット (2 ページ), クイック・リファレンス・マニュアル (8 ページ), パンフレット&スペック (2 ページ), コンテンツとインストール (4 ページ)

- 1. Setting up a Dymo Labelwriter
- 2. To Install the DYMO Label Software on the Terminal Server
- 3. To Install and Test the DYMO Printer on the Local Workstation
- 4. To Allow Your Local USB Port to be Available During a Terminal Server Session
- 5. To Test the DYMO Printer through a Terminal Server Session
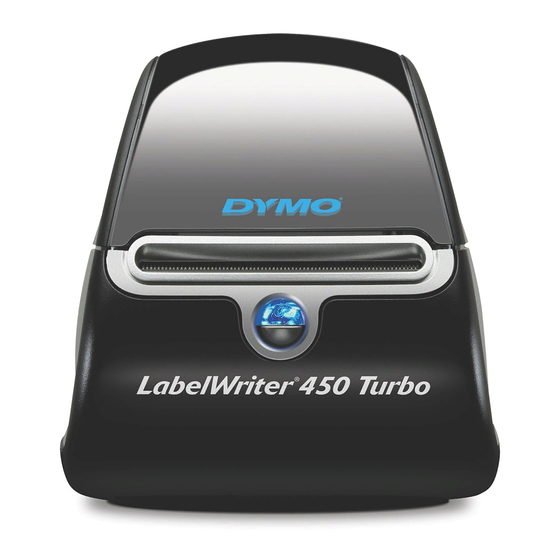
Setting Up a DYMO LabelWriter 400, 450, or 450 Turbo Printer with Terminal Services
To install the DYMO Label Software on the terminal server
You must install the DYMO LabelWriter software and DYMO
•
NOTE
printer driver manually on the terminal server. Otherwise, the
server may install a generic driver for the DYMO printer when
the local computer connects to the server. The DYMO printer
will not function without a DYMO printer driver installed on
the server.
•
Installing the DYMO LabelWriter software from the DYMO
LabelWriter CD automatically installs the DYMO printer
driver.
•
You may need to install either v7.8 or 8.x of the DYMO
LabelWriter software.
Install the DYMO LabelWriter software from the CD that came with your
1.
printer.
If you do not have the DYMO LabelWriter CD, download the
NOTE
printer driver and software application from the DYMO Web site
at http://sites.dymo.com/Support/Pages/LandingPage.aspx.
When the DYMO Label Software installation launches, the License
Agreement window opens.
Select the I Accept radio button and click Next.
2.
Click Next to bypass the welcome message.
3.
Click Browse, select where to install the DYMO Label Software, and click
4.
Next.
Click Next to bypass the installation message.
5.
When asked to select a connection method, select the Network (LAN) radio
6.
button and click Next.
Setting Up a DYMO LabelWriter 400, 450, or 450 Turbo Printer with Terminal Services
3
