- ページ 3
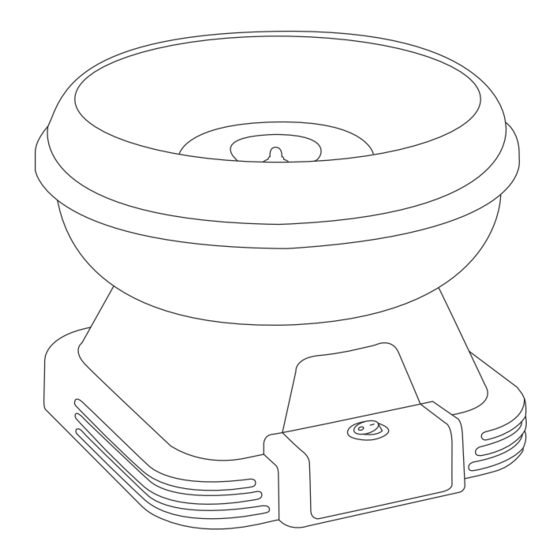
キッチン家電 Gadgy COTTON CANDY MACHINE RETROのPDF 取扱説明書をオンラインで閲覧またはダウンロードできます。Gadgy COTTON CANDY MACHINE RETRO 20 ページ。

INSTRUCTIONS FOR USE
With proper care, the whole family will enjoy the Cotton Candy Machine. Please take
care of your machine by following these instructions and precautions.
ASSEMBLY OF THE MACHINE
y
Assemble the bowl. Connect the white and clear ring.
y
Place the extractor head in the base unit. Make sure that the grooves are properly
aligned to fit over the pins on the stem.
y
Slide the bowl over the base unit. Turn the bowl counter clockwise to LOCK it.
MAKING COTTON CANDY
1. Place the machine on a smooth, flat and stable work surface.
2. Plug in the unit at the OFF position.
3. Turn the unit to the ON position and allow the machine to run for at least 3-5
minutes. This will allow it to warm up.
4. Switch the machine OFF. Using the measuring spoon provided, measure the amount
of sugar (+/- 20 g.). Put the sugar or (sugar-free) hard candy in the centre of the
divider. As far as possible, avoid spilling sugar into the heating element. This may
cause smoke or sparks. Switch the machine ON again. The candyfloss machine runs
the divider and heats the sugar.
5. When you can visually see the cotton candy 'web' begin, collect the cotton candy on
the stick by holding it vertically. Rotate the stick with your fingers while you circle the
bowl.
6. Once you have collected cotton candy on the stick, hold it in a horizontal position
over the extractor head, still rotating the stick with your fingers. Continue turning
the stick with your fingers while it is in the horizontal position and move from side to
side, making sure you collect all the cotton candy.
7. urn the unit OFF when all the sugar has been dispensed. Once the extractor head
has come to a complete stop, you can pour new sugar or (sugar free) hard candy in
the extractor head and begin again.
8. Wait 5 minutes to cool the machine after you finish five cotton candies.
CLEANING INSTRUCTIONS
Disassemble the device, bowl and divider for easy cleaning.
NOTE: Never use an abrasive sponge when cleaning!
Make sure the unit is unplugged and has had time to cool down before cleaning.
y
y
After cooling, remove the extractor head assembly by pulling it straight up.
Unlock the bowl from the base unit by turning it clockwise. Then remove the bowl
y
from the base unit by pulling it straight up.
y
Wash the bowl in warm water, rinse and dry thoroughly.
Use a slightly damp, soft sponge or cloth to wipe the exterior. Dry it with a soft cloth
y
y
After cleaning and thoroughly drying the bowl, it can be reassembled to the base
unit.
Return the extractor head. Make sure that the grooves are properly aligned to fit
y
over the pins on the stem.
NOTE: Do not wash or immerse the base unit in water or liquids.
At first use, a plastic or burning smell might occur. This will disappear.
ENGLISH
3
