- ページ 12
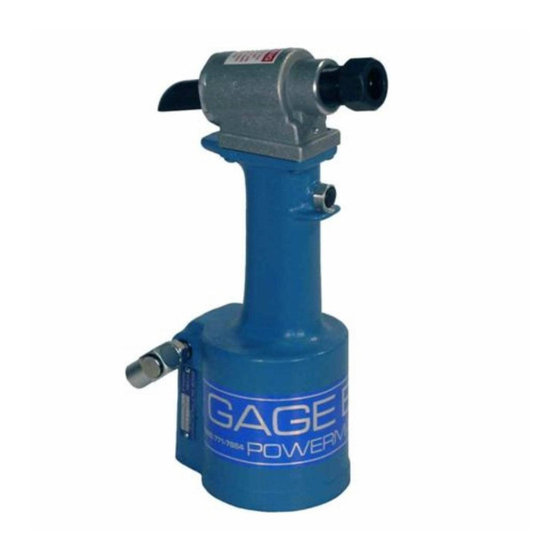
リベット工具 Gage Bilt GB752のPDF オリジナル取扱説明書をオンラインで閲覧またはダウンロードできます。Gage Bilt GB752 20 ページ。
Gage Bilt GB752 にも: インストレーションツール情報 (13 ページ), インストレーションツール情報 (12 ページ)
Providing all maintenance conditions have been met, follow this systematic approach to diagnosis.
1. MORE THAN ONE PULL IS REQUIRED TO BREAK FASTENER.
a)
Tool needs to be bled. (See filling and bleeding procedure on pg. 11).
b)
Spring has fatigued, replace.
c)
Jaws are stripped or packed with chips. Clean or replace.
2. SLOW OR PARTIAL OPERATION WHEN THE ACTUATOR LEVER ASSEMBLY (704343) IS DEPRESSED.
a)
Polyseal (A-1134) and o'ring (400791) on the piston (752507) could be worn or damaged. Replace.
b)
Back-up ring (401102) and o'ring (S945) on the piston rod assembly (704138) could be worn or damaged. Replace.
c)
Muffler (704146) or filter inside valve spool assembly (703142) may be plugged with dirt. Clean thoroughly and back-blow
with compressed air.
d)
Hole in metering screw in valve spool assembly (703142) may be blocked or damaged. Hole diameter should be .028" (.71mm).
Clear and size or replace.
3. NO OPERATION WHEN ACTUATOR LEVER ASSEMBLY (704343) DEPRESSED.
a)
Tool seized due to mechanical failure or damaged parts.
4. OIL LEAKAGE.
a)
DO NOT
OPERATE WITH OIL LEAKING FROM TOOL. HIGH PRESSURE OIL MAY CAUSE SEVERE PERSONAL INJURY.
b) Any oil leaking externally should be traced to its source. An o'ring or seal that leaks should be replaced.
5. AIR BYPASS FROM VALVE HOUSING.
a)
If the spring (704141) breaks or dislodges, air will flow freely through the muffler (704146). Replace or reset. Valve spring
installation tool assembly (704262) is recommended.
b)
Check o'rings on valve sleeve (703139), valve spool assembly (703142), and valve plug (704145). If worn or damaged,
replace. Valve sleeve removal tool assembly (704163) is recommended.
6. FASTENER STEM JAMMED IN NOSE ASSEMBLY.
a)
Nose assembly components require service.
disassemble. Replace worn or broken parts. Clean the surface the jaws ride on.
b)
Stems lodged side by side in the follower. Disassemble, remove stems, and reassemble.
c)
Incorrect follower.
1.
Disconnect air from tool.
2.
Remove end cap.
3.
Slide Stroke Limiter over rear Piston.
(See Nose Assembly Selection Chart pg. 18 and to select
a Stroke Limiter).
4.
Tighten End Cap onto tool. (See pg. 10 for torque setting).
GB752 S/N: 3210 AND ABOVE
PLEASE CONTACT GAGE BILT FOR ALL OTHER SERIAL NUMBERS.
TROUBLESHOOTING
DISCONNECT AIR FROM
STROKE LIMITER INSTRUCTIONS
Images may not reflect actual tool
12
TOOL, remove the nose from the tool and
STROKE LIMITER
REV. 5/22