- ページ 10
モーターサイクル 6KU TRACKのPDF ステップ・バイ・ステップ建築マニュアルをオンラインで閲覧またはダウンロードできます。6KU TRACK 17 ページ。

- 1. Table of Contents
- 2. Tools
- 3. Let's Get Started
- 4. Installing the Handlebar
- 5. Installing the Front Wheel
- 6. Aligning the Stem
- 7. Installing the Seatpost
- 8. Optimizing the Brake Pads
- 9. Preparing Pedals for Installation
- 10. Installing the Pedals
- 11. Pumping the Tires
- 12. Let's Finish up that Handlebar
- 13. Optional Fixed Gear/Freewheel
- 14. Contact Information
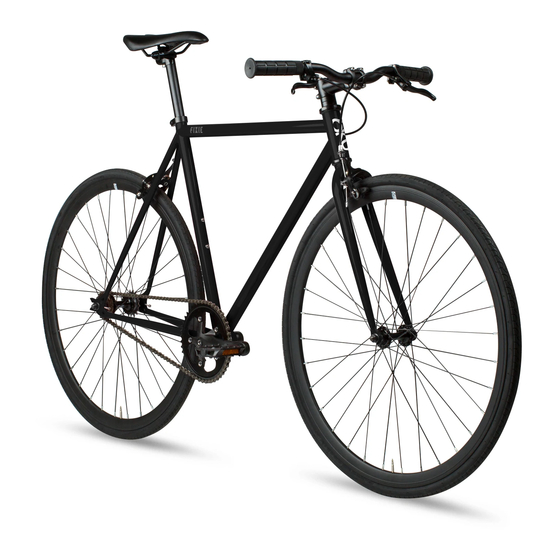
INSTALLING THE PEDALS
a.
Take note that the pedals are
marked 'R' and 'L' for the right and left
sides, respectively.
b.
First, insert the right pedal
pedal marked 'R')
into the crank arm
on the right (drive) side.
c.
Now slowly and gently turn the
pedal spindle in a CLOCKWISE motion
until the spindle catches the crank arm.
d.
Finally, use your Pedal Wrench to
fully tighten the spindle.
(do not over tighten or you will strip
your pedals)
e.
Repeat the same process for the left
pedal, this time turning your spindle
in a COUNTERCLOCKWISE motion
instead.
(note: left hand pedal has
reverse threads)
9
(the
