- ページ 2
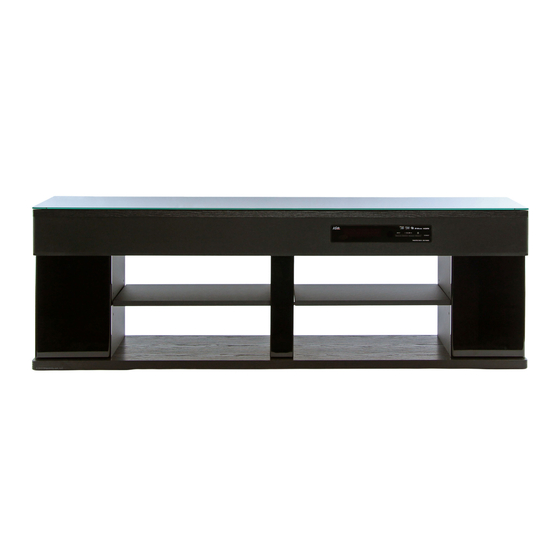
室内装飾品 IGO Audio HAV-R500GのPDF インストレーション・マニュアルをオンラインで閲覧またはダウンロードできます。IGO Audio HAV-R500G 2 ページ。 Home theatre rack system
G
G
Place top glass
on top of the unit and align properly.
G
H
Connect SW wire.
Connect Gray
Connect Gray
Wire to +
Wire to +
(Gray Button)
(Gray Button)
Connect Gray
Connect Gray
with Black
with Black
Stripe Wire to —
Stripe Wire to —
(Black Button)
(Black Button)
Connect Gray with
Connect Gray with
Black Stripe Wire
Black Stripe Wire
to — (Black Button)
to — (Black Button)
Connect Gray
Connect Gray
Wire to +
Wire to +
(Gray Button)
(Gray Button)
• Press the button to insert wire into the hole.
3
Installation
continued
I
H
Insert the metal shelf pins
into the pin holes on the
center pillar and SW box .
H
H
J
I
Place the shelf boards
correctly on top of the metal
shelf pins.
I
Slot (on the bottom
Slot (on the bottom
side of the shelf board)
side of the shelf board)
• Shelf board height can be adjusted to 3 levels. (Refer to the "User's
Manual"
for details.)
• Even when no shelf board is installed, leave the support pins (supplied) in
the holes to prevent losing parts.
• If the shelf board is placed in the wrong direction or storage compartment,
the equipment installed on it may fall.
• Put the supplied shelf board straight into the storage compartment and
place it flat, aligning the slots on the bottom side of the shelf board with
the metal shelf pins.
Installing the caster trays
J
• Install the caster trays
(supplied) under the casters so
that the unit does not move.
• Make sure the caster trays are installed by two or more
people.
HAV-R400G
HAV-R500G
Place the caster trays under the front casters
Align the caster with
Groove
the groove on the
Caster tray
caster tray.
J
(supplied)
About the installation position
• For safety, wear gloves when installing or moving the unit.
• To prevent injury, two or more people are required to lift
this unit.
• Be careful not to pinch your fingers when installing the
rack.
• The bottom surface of the unit is equipped with casters.
Be extra careful not to damage the floor with the casters.
Avoid going over uneven or unlevel surfaces with the
casters.
• Do not touch or press the cloth frame of the speakers or
subwoofer while installing or moving the unit. Doing so
may cause damage to the cloth of the speaker or the
speaker itself.
Printed in Malaysia
Installation
continued
Allow sufficient space around the unit
• Allow for a space of about 4" (10 cm) above, behind and
around the unit to avoid blocking the ventilation holes of
the amplifier and Subwoofer speakers for better sound.
About 4" (10 cm) away from the wall
Removing the casters
• Remove the casters if you wish to install the unit on an
unstable surface such as a thick-piled carpet.
• Carefully remove the top glass, shelf boards and metal
shelf pins before putting them in a safe place.
• To prevent injury, two or more people are required to lift
this unit.
• Place a soft sheet on the floor and lay the unit on its back
on the sheet.
• Remove the casters by grasping and pulling them.
• After the casters have been removed, please repeat step
F
G
I
J
,
,
and
.
Grasp and pull
Bottom side
the casters
A soft sheet
4