- ページ 6
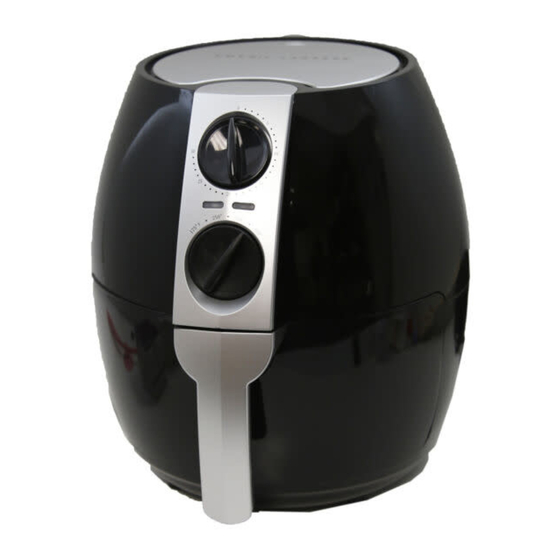
フライヤー Emeril Lagasse SMART FRYER PROのPDF ユーザーマニュアルをオンラインで閲覧またはダウンロードできます。Emeril Lagasse SMART FRYER PRO 13 ページ。

Emeril
Smart Fryer Pro
™
1. Preparing for use
• Place the appliance on a stable, horizontal and level surface. Make sure that the
surface is heat resistant and that the Smart Fryer is also positioned at least 4
inches away from any surrounding objects.
• Make sure that the trivet (10) is securely placed inside the basket (4) This part is
necessary to ensure a proper air circulation all around the food.
• Insert the power plug into a wall socket. Your Smart Fryer is now ready for use!
Caution!
• Do not fill the food basket with oil or any other liquid, as this may cause a
fire hazard!
• Never use the Smart Fryer without the food basket in place.
• Keep all ingredients in the basket to prevent any contact with the
appliance's heating elements. Do not overfill the food basket!
• Do not cover the air inlet on the top or the air outlet on the back while the
appliance is in use.
• Do not touch the inside of the appliance while it is operating.
• Never immerse the unit's housing in water or rinse it under the tap!
2. Using the appliance
The Smart Fryer can be used to prepare a large variety of foods. Please refer to
the table in the section "Settings" hereinafter for basic cooking times, or refer to the
included recipes.
• Pulling the handle (5), carefully remove the food basket (4) out of the Emeril™
Smart Fryer Pro (6).
• Put the ingredients that you will be air-frying into the food basket (4) on top of the
trivet (10).
Note: Never fill the basket to capacity or exceed the recommended amount (see
section 'Settings' in this chapter), as this could affect the quality of the cooking.
• Slide the basket back into the Emeril™ Smart Fryer Pro.
Caution! Never attempt to use the Smart Fryer without the food basket
in it!
Caution! Do not touch the food basket, or the inside of the Smart Fryer
during and immediately after use, as they get very hot. Only hold the
food basket by its handle. Always use oven mitts. Unit is hot!
• Turn the temperature control dial (1) to the required cooking temperature (See
section' Settings' in this chapter to determine the right temperature).
• Determine the required preparation time for the ingredients (see section 'Settings'
after this chapter).
• To switch the appliance on, turn the timer knob (2) to the required preparation time
• The green power-on light and the orange "Heating-up" light (3) will turn on and the
fryer will quickly start generating hot air.
6
REFERENCE: EML FT 43724
Operating Instructions
AFTER SALES SUPPORT
888-525-6745
