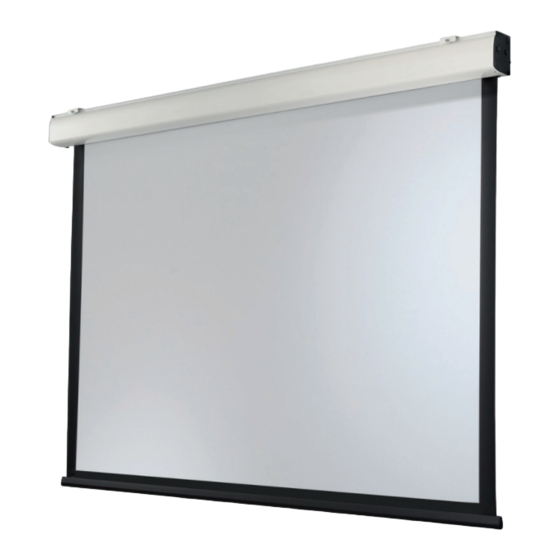
OPERATION
STEP 1: SECURITY CHECK & CONNECTION
The electrical connection of the screen must be carried out by qualifi ed
personnel according to the technical data (see above). Mount the wall switch
near the screen so that the user always has the screen in view when extending
and retracting it.
The cable must not be laid on hot surfaces or stretched. Never connect the wall
switch to more than one device. Disconnect the screen during maintenance
work.
STEP 2: EXTEND THE SCREEN (FIG. 2)
Press and hold the button marked with
the down arrow. The screen extends
and stops automatically at the set end
point. Make sure that no objects or
persons obstruct the extension of the
screen.
STEP 3: RETRACT THE SCREEN (FIG. 3)
Press and hold the button marked with
the up arrow. The screen retracts and
stops automatically at the housing or
the set upper end point. Make sure
that no objects or persons obstruct the
retraction.
STEP 4: STOP THE SCREEN
To stop the projection screen manually, release the pressed button - the screen
stops immediately.
It is possible to set the stop points. Please request the instructions for this procedure from
your specialist dealer or directly via www.celexon.com
6
