- ページ 8
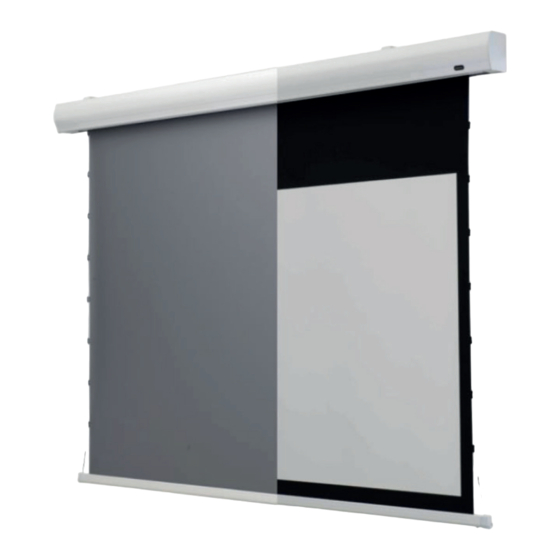
投影スクリーン Celexon HomeCinema Electric Tension screenのPDF 取扱説明書をオンラインで閲覧またはダウンロードできます。Celexon HomeCinema Electric Tension screen 14 ページ。
Celexon HomeCinema Electric Tension screen にも: 操作マニュアル (11 ページ)

MOUNTING ON THE CEILING (HANGING)
ATTENTION! Make sure that you have a load-bearing substrate
1.
For mounting on a solid stone/concrete ceiling, please use the plastic
dowels (i). Determine the position of the mounting brackets (b) by the
height of the projection screen surface. Draw a straight line to ensure the
two mounting brackets are aligned with each other.
2.
Attach the eyelets (k) to the upper part of the bracket.
3.
Attach the brackets with the eyelets firmly to the housing and measure
the distance between the eyelets. Mark this accordingly on the ceiling
using a pencil.
4.
Drill holes according to the markings with a drill bit, insert the dowels into
the holes (the dowels must sit tightly in the holes) and screw in M6 ring
eyelets with the appropriate specification. (Ring eyelets and carabiners
for hanging must be provided by the customer).
5.
Now lift the screen housing with two people and hang the screen with
carabiners on the hooks.
OPERATION
Connect the screen to the power supply using the enclosed power cable.
Please ensure that the power supply is correct (230V/AC). Do not lay the cable
on hot surfaces and avoid unnecessary tension.
230V/AC mains
connection already wired
RS485 Anschluss
The screen is supplied with an infrared (IR) and a radio remote control (RF).
To use the IR remote control, please use the enclosed IR receiver (h). Plug the
jack plug into the socket „ext. IR connection" on the left side of the projection
screen housing and position the receiver in such a way that it has clear visual
contact with the IR remote control (underside of the housing).
Ext. IR Anschluss
Trigger Anschluss
7
